

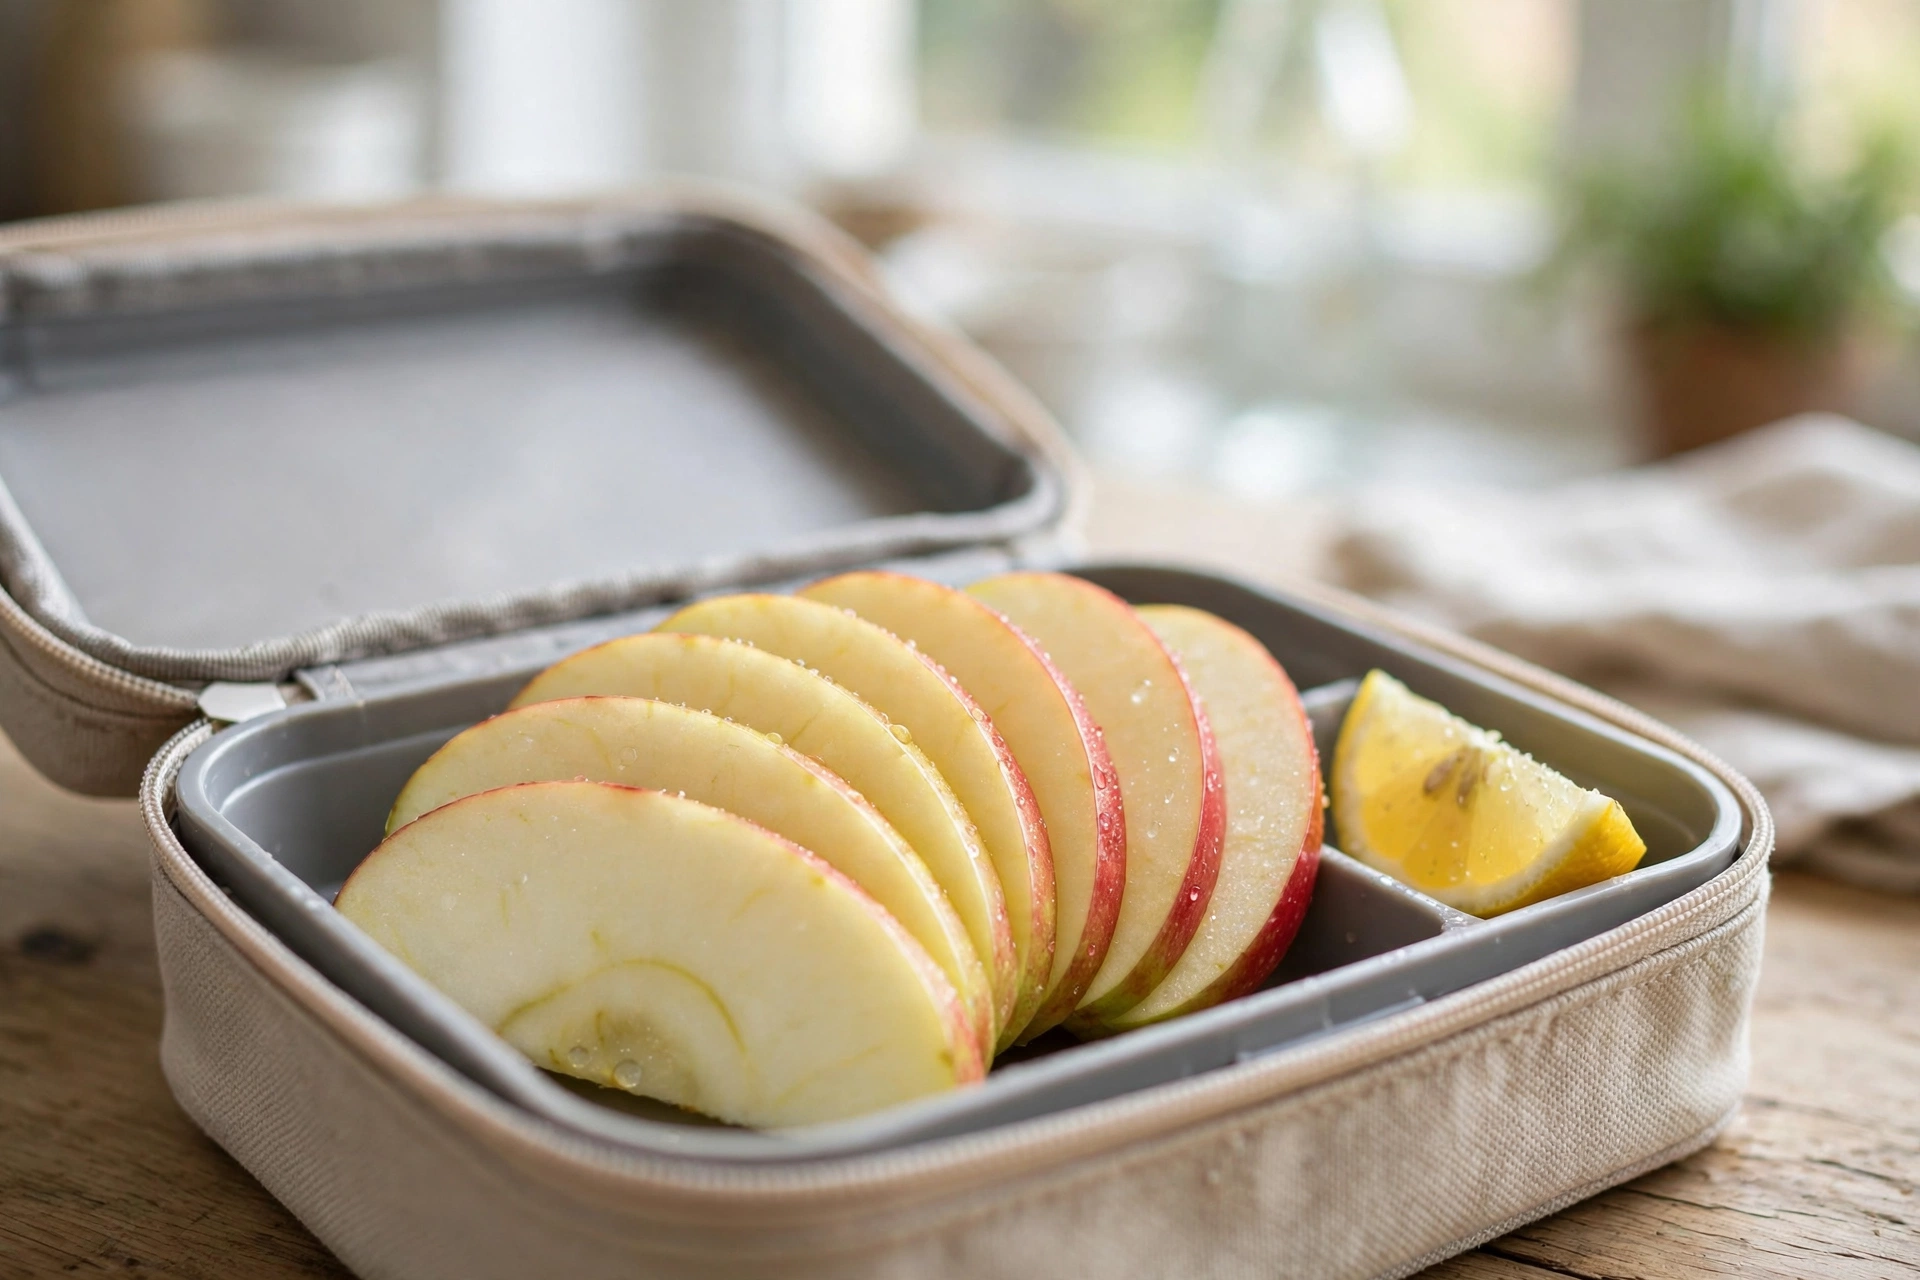
If you have ever opened your lunch box at noon to find a sad pile of brown apple slices staring back at you, I know exactly how you feel. I went through this for weeks — slicing an apple in the morning, tucking it neatly into a container, and finding something nobody wanted to touch […]
If you have ever opened your lunch box at noon to find a sad pile of brown apple slices staring back at you, I know exactly how you feel. I went through this for weeks — slicing an apple in the morning, tucking it neatly into a container, and finding something nobody wanted to touch by lunchtime. Figuring out how to keep apple slices from browning in lunch box conditions took real trial and error, but once I cracked it, my whole lunch routine changed. Now my slices stay crisp and pale for hours, and I actually eat the fruit I pack instead of tossing it.
The best part is you need nothing fancy. Everything below uses stuff already in your kitchen, most methods take under a minute, and I have tested all of them in real lunch-box conditions. Here is everything I learned, including the flops.
Table of Contents
Why Apple Slices Turn Brown in the First Place
When you cut an apple, you expose the flesh to air, and an enzyme inside the fruit reacts with oxygen. That reaction — enzymatic browning — is the same reason cut potatoes and avocados darken. It does not mean the apple is rotten. Browned slices are still perfectly edible; they just look unappetizing, and the surface can turn slightly soft.
The browning starts within minutes and continues as long as the cut surface meets air. Warmth speeds it up, which makes a lunch box sitting in a bag basically a worst-case scenario. So the whole game is slowing that enzyme reaction: block the air, change the surface acidity, or keep things cold. Every method below works on at least one of those principles.
Method 1: The Lemon Juice Dip (The Classic That Never Fails)
Squeeze half a lemon into a bowl of cold water, drop your apple slices in for a minute or two, then lift them out and drain on a paper towel. That is the whole process. The citric acid lowers the pH on the apple’s surface, which slows the browning enzyme dramatically. Slices stay pale for six to eight hours — more than enough for any lunch.
Everyone asks about the taste. A quick dip in diluted lemon water leaves only the faintest tang, which I actually find pleasant — it brightens the apple a little. If you soak them too long or use straight undiluted juice, you will taste lemon, so keep it quick. For picky kids, cut the dip to about thirty seconds; it still does the job.
Method 2: The Salt Water Soak (My Budget Favorite)
This one surprised me the most. Dissolve half a teaspoon of table salt in a cup of cold water, submerge your apple slices for three to five minutes, then rinse briefly under fresh water and pat dry. The salt disrupts the browning enzyme, and the rinse removes almost all salty taste — the slices taste like normal fresh-cut apple.
I love this method because salt costs practically nothing and every kitchen has it. Do not skip the rinse, though — without it, you will notice a faint saltiness. This is my go-to on days I am out of lemons, and it holds color for a solid five to six hours in a lunch box. Simple, cheap, and reliable.
Method 3: Honey Water (The Kid-Friendly Trick)
Stir two tablespoons of honey into a cup of warm water until dissolved, add cold water, and soak the slices for a few minutes. Honey contains a compound that deactivates the browning enzyme — this is genuinely effective, not folklore. The slices stay fresh-looking for hours and taste faintly of honey, which most kids love.
The tradeoff: honey is sticky, so give the slices a quick rinse and pat dry afterward. It also costs more than salt or lemon, so I save this for days I want the apples to taste like a treat rather than using it daily. One important note — never use honey for babies under one year old.
Method 4: Ascorbic Acid — The Pro Option for How to Keep Apple Slices From Browning in Lunch Box All Day
If you want the absolute best results, ascorbic acid is what commercial kitchens use. Buy it as pure vitamin C powder or a fruit preserver from the canning aisle, dissolve about a teaspoon in a cup of cold water, and dunk your slices. This can keep apples looking freshly cut for a full day or longer — noticeably better than any home-kitchen option.
Ascorbic acid is an antioxidant, so it directly neutralizes the browning reaction instead of just slowing it. The flavor is completely neutral, perfect if anyone in your family dislikes lemon or honey tastes. A small jar lasts months since you use so little per batch. If you meal-prep fruit for the whole week, this is the method that makes the most sense.
Method 5: The Rubber Band Trick (No Ingredients Needed)
For days with zero ingredients and ten seconds to spare: slice the apple, press the slices back together to reform the whole-apple shape, and wrap a clean rubber band around it. With the cut surfaces pressed against each other, far less flesh meets air, and browning slows dramatically.
This works best when you eat the apple whole at lunch rather than sharing loose slices. It is not perfect — the outer edges still get some air — but it buys several extra hours with literally no prep. I use this when running late and the apple needs to go in the bag right now. Just do not wrap it so tightly that it bruises the fruit. For more produce-saving ideas, see my guide on keeping your fruit fresh for longer.
Method 6: Cold Is Your Best Friend (Pack Smart)
Whatever dip you use, temperature is the other half of the equation. Browning enzymes work much slower in the cold, so a chilled lunch box makes every method above more effective. I toss a small reusable ice pack into the lunch bag next to the apple container — it also protects yogurt or cheese in the bag.
No ice pack? A frozen juice box or small frozen water bottle works just as well and thaws into a cold drink by lunch. I learned this the hard way one summer afternoon when my lemon-dipped slices still browned because the bag sat in a hot car for two hours. The dip handles the chemistry; cold handles the environment. Do both and your apples are basically bulletproof.
Method 7: The Right Container Makes a Difference
Air is the enemy, so your container matters. A wide, half-empty container leaves lots of air swirling around your slices all morning. I switched to small containers that fit the slices snugly and saw a real difference. Pressing plastic wrap directly against the apples before closing the lid cuts air exposure almost to zero.
Airtight locking lids beat flimsy snap-ons every time. I also avoid packing apple slices next to warm foods like leftover pasta, because radiated heat speeds browning. Give the apples their own little container, keep it sealed and cool. It sounds fussy, but it takes no extra time once you own the right containers.
Which Apple Varieties Brown the Slowest
Some apples simply brown slower than others, no tricks needed. Honeycrisp, Ambrosia, Gala, and Fuji have lower levels of the browning enzyme. I started buying Honeycrisp specifically for lunches and the difference was shocking — sometimes I barely need a dip at all.
On the other end, Red Delicious, Granny Smith, and Cortland brown fast. Granny Smith is ironic because it is otherwise a fantastic lunch apple — tart, crunchy, sturdy — but it darkens quickly without treatment. If your family loves a fast-browning variety, just pair it with one of the methods above. But if you are shopping anyway, grabbing Galas or Honeycrisps gives you a head start.
What Doesn’t Work (Methods I Tried and Dropped)
Let me save you some experiments. Plain water alone barely helps — it blocks air contact, but slices go waterlogged and lose crunch. Vacuum sealing does stop browning, but for a daily lunch box it is overkill: single-use bags, counter space for the machine, and you cut the bag open at lunch anyway, re-exposing everything. I tried it for a week and went back to lemon water.
Also avoid the “more is better” trap with lemon juice. Soaking slices in undiluted juice for ten minutes gives you sour, mushy apples — a quick diluted dip is all you need. And never seal slices while dripping wet; excess water makes them soggy by noon. Always drain and pat dry.
Common Packing Mistakes to Avoid
Beyond the methods themselves, a few habits ruin good apples. Do not cut apples the night before with no treatment and hope the fridge saves them — cold slows browning but does not stop it, and untreated slices look rough by morning. Do not pack treated slices in a container with a loose or warped lid; I lost a week of good-looking apples to one before I figured that out.
Finally, keep apple containers away from warm foods in the bag and always include something cold next to them. The treatment and the seal work as a team — skip either one and you are leaving freshness on the table.
How to Keep Apple Slices From Browning in Lunch Box: My Actual Morning Routine
Here is what I really do on a weekday morning, start to finish, in about three minutes. I slice one Honeycrisp into eight wedges while the coffee brews. The wedges go into lemon water for about a minute while I pack the rest of the lunch. I lift them out, pat dry on a paper towel, and tuck them into a small airtight container. An ice pack goes in the bag next to it. Done.
Out of lemons? I swap in the salt-water soak with a rinse — same timing. The system is flexible, which is why it stuck: there is always a version I can do with whatever is in the kitchen. After a few weeks it becomes muscle memory. The Kitchn’s produce experts describe similar science-backed approaches in their guide to stopping sliced apples from browning if you want a second opinion.
Conclusion
Learning how to keep apple slices from browning in lunch box conditions took me longer than it should have, but now it is the easiest part of my morning. Pick one method — lemon water for simple, salt water for cheap, honey for kids, ascorbic acid for the nuclear option — then back it up with cold packing and a snug airtight container.
The real win is not just prettier apples. When the fruit in your lunch box looks fresh at noon, you actually eat it instead of leaving it untouched. I went from throwing away half my packed fruit to finishing it every day, and that alone made three minutes of prep worth it. Try one method tomorrow morning — I think you will be surprised how well it works.
Frequently Asked Questions
How long do lemon-treated apple slices stay fresh in a lunch box?
They typically stay pale and fresh-looking for six to eight hours, easily covering the gap between morning packing and lunch. An ice pack in the bag extends it further. Untreated slices start browning within minutes and look quite dark after two to three hours.
Do apple slices still taste good after a salt water soak?
Yes, as long as you rinse them. A three-to-five-minute soak in lightly salted water followed by a quick rinse leaves no noticeable salty taste. Skipping the rinse is the only way this method goes wrong.
Can I cut apples the night before for lunch boxes?
You can, but only with treatment and proper storage. Lemon water or ascorbic acid work best for overnight prep — then pat dry, seal airtight, and refrigerate. Untreated slices look brown and tired by morning even in the fridge.
Is it safe to eat brown apple slices?
Yes. Browning is just oxidation, not spoilage, and it creates nothing harmful. The surface may get slightly softer, but there is no food-safety concern. If slices smell off or feel slimy, though, that is spoilage — throw those out.
Which apples are best for lunch boxes?
Honeycrisp, Ambrosia, Gala, and Fuji brown the slowest and hold their crunch, making them the best picks. Granny Smith and Red Delicious brown much faster, though they are fine with treatment. For least fuss, grab Honeycrisp or Gala.
Does soaking apple slices in plain water prevent browning?
Only slightly. Water blocks air contact, but slices can go waterlogged and lose crunch, and browning still creeps in. Water with lemon juice, salt, honey, or ascorbic acid dissolved in it works far better. Always pat slices dry after any soak to keep them crisp.