

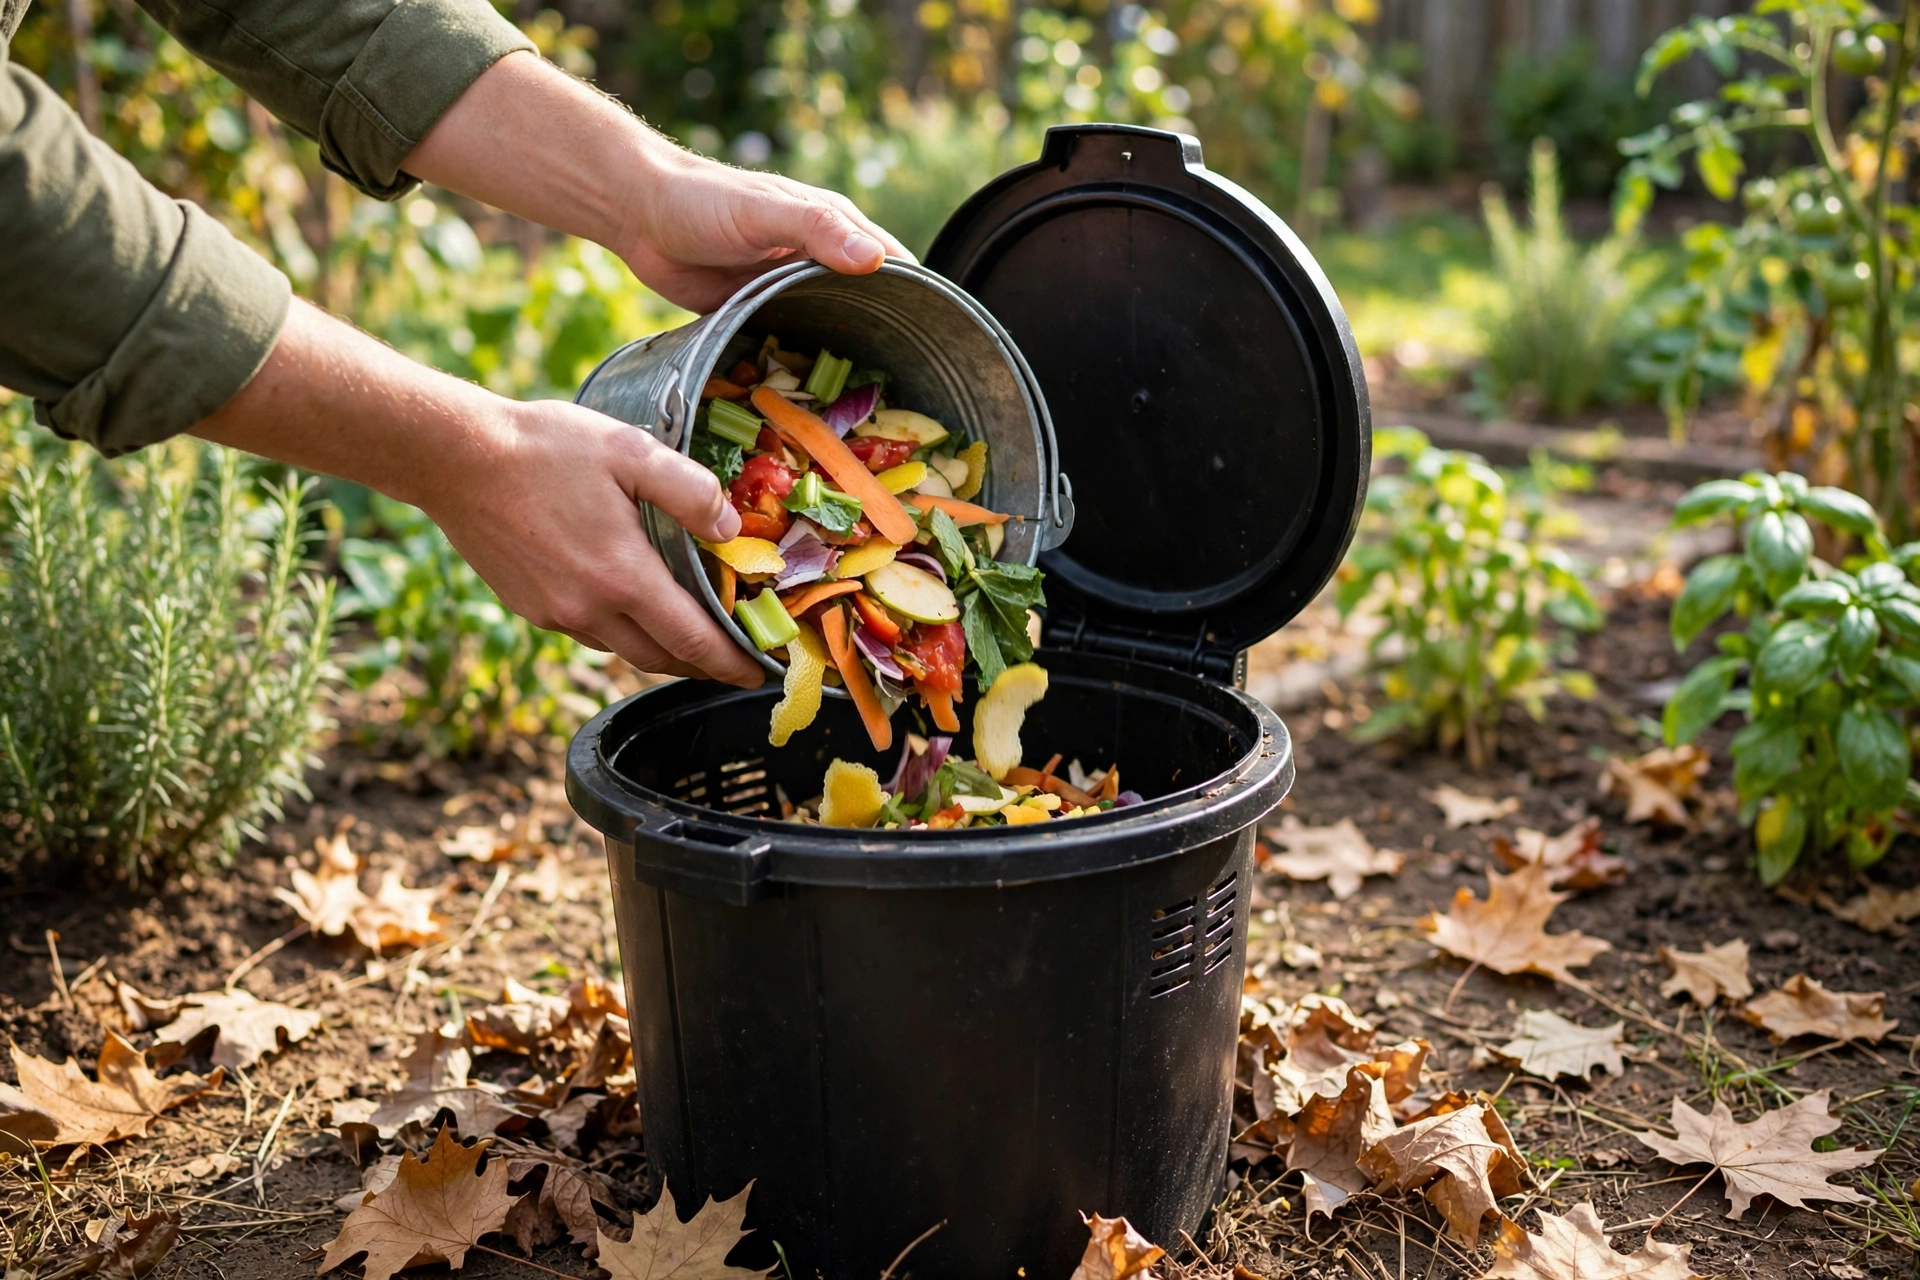
I threw my first banana peel into a compost bin three years ago feeling like a fraud. Every guide I’d read made learning how to start a compost bin sound like a chemistry degree — carbon-to-nitrogen ratios, aeration schedules, moisture percentages. I pictured a smelly science experiment in my backyard that my neighbors would hate. […]
I threw my first banana peel into a compost bin three years ago feeling like a fraud. Every guide I’d read made learning how to start a compost bin sound like a chemistry degree — carbon-to-nitrogen ratios, aeration schedules, moisture percentages. I pictured a smelly science experiment in my backyard that my neighbors would hate.
Here’s what nobody told me: composting is glorified controlled rotting, and rotting happens with or without you. My first bin produced usable, crumbly, earthy-smelling compost in about four months, and I did almost everything “wrong” according to the purists. If you’ve been putting off learning how to start a compost bin because it sounds complicated, messy, or smelly, this is the no-intimidation guide I wish I’d had.
Table of Contents
Pick the Right Bin for Your Space (It’s Simpler Than You Think)
The first decision in how to start a compost bin is the bin itself, and the options fall into three buckets. A tumbler is a barrel on a stand you spin — fast, tidy, and the most expensive option. A stationary bin is just a box with an open bottom sitting on the ground — cheap, simple, and what most beginners should get. A worm bin (vermicomposting) is a small stacked tray system that lives indoors or on a balcony — perfect for apartments.
I started with a basic $60 stationary bin in a corner of my yard, and honestly it was the right call. It needs no spinning, no special parts, and it holds enough volume that the pile actually heats up and works. If you have no yard at all, don’t let that stop you — a worm bin under the kitchen sink handles a surprising amount of scraps and produces the richest compost of any method. The bin doesn’t determine your success; putting scraps in it instead of the trash does.
Location Matters More Than the Bin Itself
Put your bin on bare ground in a shady, well-drained spot, and half your composting problems never happen. Bare ground matters because worms and beneficial microbes migrate up into the pile from the soil below — it’s like free starter culture. Shade matters because direct sun bakes the pile dry in summer. Good drainage matters because a bin sitting in a puddle turns into a swamp.
Mine sits under a tree near the back fence, about ten steps from the kitchen door — and that distance is strategic. If the bin is too far away, you’ll stop carrying scraps to it. Make it convenient or you’ll abandon it by month two. Keep it a few feet from wooden fences or structures, since the bottom of a compost pile stays damp and wood plus constant moisture is a recipe for rot.
Learn the Green-Brown Balance (the Only “Rule” That Matters)
Forget the chemistry degree. Composting has exactly one rule: mix greens and browns. Greens are wet, nitrogen-rich things: fruit and vegetable scraps, coffee grounds, fresh grass clippings. Browns are dry, carbon-rich things: dead leaves, shredded cardboard, newspaper, straw, wood chips.
Aim for roughly three parts browns to one part greens by volume — a handful of scraps buried under a big scoop of dry leaves. Every time I add kitchen scraps, I cover them with browns. That single habit prevents about 90% of beginner problems: smells (greens rotting exposed), flies (they love exposed scraps), and soggy piles (too many greens, not enough dry material). When my pile ever smells like ammonia or looks slimy, I know instantly: too many greens, add browns. When it looks dry and nothing’s happening: add greens and a splash of water.
What You Can Compost (More Than You’d Guess)
The list of compostable stuff is long, and half of it surprised me. Fruit and vegetable scraps, coffee grounds and filters, tea bags (check they’re not plastic-lined), eggshells, nut shells, shredded newspaper and plain cardboard, paper towels and napkins (unbleached is best), yard trimmings, dead leaves, sawdust from untreated wood, hair and fur, and even the dust from your vacuum cleaner bag.
The eggshell trick is worth knowing: rinse them, crush them, and toss them in. They break down slowly but add calcium, and crushed shells deter the soft-bodied pests that sometimes investigate a pile. Coffee grounds are gold — worms love them, they add nitrogen, and if you make coffee daily you’re generating a steady free supply. I keep a small countertop caddy for scraps and empty it into the bin every couple of days; the routine becomes invisible within a week.
What to Keep Out (the Smell-and-Pest Prevention List)
This is the list that protects you from every horror story about composting. Keep out: meat, fish, and bones (they smell and attract raccoons, rats, and every neighborhood dog); dairy products, fats, and oils (they go rancid and slow everything down); pet waste from dogs and cats (pathogen risk — only herbivore manure like rabbit or horse is safe); diseased plants (the heat of a home pile usually isn’t enough to kill pathogens); weeds that have gone to seed (same reason); glossy or coated paper and cardboard (chemicals); and charcoal or coal ash (toxic residues).
The meat-and-dairy rule is the one beginners break most, usually out of guilt about waste. A home compost bin isn’t a garbage disposal — it’s a garden input system. Those items belong in municipal green-waste programs if your city has one, which handle them at industrial temperatures. My rule of thumb: if it came from a plant, it probably goes in. If it came from an animal, it probably doesn’t.
Chop Things Up — Smaller Pieces Rot Faster
This was my biggest beginner speed-up. A whole cabbage head takes months to break down; the same cabbage chopped into chunks disappears in weeks. Surface area is everything in composting — microbes can only work on what they can reach.
I keep an old knife and a cutting board by the back door, and chunky scraps get a quick chop before going in. Cardboard gets torn into strips, corn cobs get snapped, big stems get snipped. It adds maybe two minutes to the routine, and it noticeably accelerates the pile. You don’t need to obsess over it — just avoid tossing in anything bigger than your fist and you’ll be fine.
Turn the Pile (But Not as Often as the Books Say)
Turning — mixing the pile with a fork or aerator — adds oxygen, and oxygen is what keeps composting aerobic (good, earthy-smelling) instead of anaerobic (bad, swampy-smelling). The textbooks say turn weekly. In practice, I turn mine about once a month, and it works fine.
Here’s my lazy-but-effective method: once a month, I plunge a garden fork into the pile, lift and flip a few forkfuls from the outside in, and call it done — five minutes, tops. If the pile smells off between turnings, that’s a signal to turn it sooner and add browns. A compost tumbler makes this trivial (just spin it), which is the real advantage of the pricier bins. But don’t let perfect be the enemy of done: an unturned pile still composts, just slower and from the bottom up.
Keep It Damp Like a Wrung-Out Sponge
Moisture is the variable beginners get wrong most. The pile should feel like a wrung-out sponge: damp to the touch, but no water dripping when you squeeze a handful. Too dry and the microbes go dormant — nothing happens for months. Too wet and air gets squeezed out, leading to that sour, rotten smell.
In summer I water the pile lightly every week or two with the hose; in rainy seasons I sometimes cover the top with a tarp to keep it from drowning. The squeeze test takes three seconds and tells you everything: grab a handful from the middle of the pile, squeeze, and observe. Dry and crumbly? Water it. Dripping? Add dry browns and leave the lid ajar. This one check, done monthly, prevents most “my compost isn’t working” mysteries.
Be Patient — and Know When It’s Done
Finished compost looks and smells like dark, crumbly forest soil. You shouldn’t be able to recognize what went in — no visible eggshells, no intact leaves, no banana-peel ghosts. It should smell earthy and sweet, never sour or ammonia-like. Depending on your climate, bin type, and how diligently you chopped and turned, expect three to six months for a first batch.
My first harvest took about four months, and the moment I spread that black gold around my tomato plants was genuinely thrilling — I’d made soil out of garbage. If you’re finding unfinished chunks when you sift, just toss them back into the active pile; they’ll finish in the next round. And here’s a secret the purists won’t tell you: even “unfinished” compost, buried a few inches under garden soil, finishes breaking down in place and feeds your plants. Perfection is optional. For what to do with all that finished compost, this guide to starting a garden from scratch is the natural next step — compost is the single best thing you can give new garden beds.
Troubleshooting: Fix the Three Classic Beginner Problems
Every beginner hits the same three issues, and all three have simple fixes. Problem one: it smells bad. That means too many greens, not enough air, or too much water — add a big layer of dry browns, turn the pile, and leave the lid cracked. Problem two: nothing is happening. That means too dry or too many browns — water it until it passes the squeeze test and add a bucket of fresh greens like grass clippings or coffee grounds to jump-start it. Problem three: fruit flies or pests. That means exposed food scraps — bury every addition under at least six inches of browns and make sure the lid closes properly.
I’ve hit all three, usually in the first two months, and each fix took under ten minutes. A compost bin is far more forgiving than the internet makes it sound — it’s a pile of rot, not a soufflé. The EPA’s official home composting guidance backs up the same basics if you want the authoritative version of these principles.
How long does it take to make compost in a bin?
Most home compost bins produce finished compost in three to six months. Hot, actively managed piles (chopped materials, regular turning, good moisture) can finish in as little as two to three months, while neglected piles may take up to a year. Either way, the pile is working — just at different speeds.
Does a compost bin smell?
A healthy compost bin smells like earth, not garbage. Bad smells mean something’s off — usually too many food scraps exposed on top, too much water, or not enough air. Bury scraps under dry browns, turn the pile, and the smell disappears within days.
Can I compost in an apartment without a yard?
Yes — vermicomposting (worm bins) is designed exactly for this. A stacked worm bin fits under a sink or on a balcony, handles most kitchen scraps, produces no smell when managed right, and yields the richest compost of any home method. Bokashi fermentation buckets are another indoor option.
Do I need to buy worms or a compost starter?
No. If your bin sits on bare ground, worms and microbes find their way in naturally. Commercial “compost starters” are unnecessary — a shovelful of garden soil or finished compost tossed into a new pile inoculates it just as well for free.
Can I compost in winter?
Yes, though the process slows down dramatically in cold weather. Keep adding materials through winter — they’ll mostly sit dormant, then break down rapidly when spring warmth arrives. Insulating the bin with straw bales or moving it to a sheltered spot helps it stay active longer into the season.
What is the brown to green ratio for compost?
Aim for roughly three parts browns (dry leaves, cardboard, straw) to one part greens (food scraps, grass clippings, coffee grounds) by volume. You don’t need to measure precisely — just make sure every addition of kitchen scraps gets buried under a generous layer of dry browns, and adjust if the pile smells (add browns) or stalls (add greens).
Learning how to start a compost bin came down to ignoring 90% of the advice and keeping 10%: pick a bin, put it on soil in the shade, mix three parts browns to one part greens, bury your scraps, keep it damp, and wait. That’s the entire system. My “fraud” first bin is now the most productive square meter of my yard, turning kitchen scraps into garden gold on autopilot. Start this weekend. Grab a bin, toss in your coffee grounds and vegetable peels, cover them with dry leaves, and you’re composting. The pile does the rest — it just needs you to begin.