

Here’s a question that stops most people mid-laundry fold: if your washing machine is dirty, how clean are your clothes, really? I didn’t think about it either — until my “freshly washed” towels started coming out smelling like a damp basement. The machine looked fine. But inside the door seal was a grey-black film, the […]
Here’s a question that stops most people mid-laundry fold: if your washing machine is dirty, how clean are your clothes, really?
I didn’t think about it either — until my “freshly washed” towels started coming out smelling like a damp basement. The machine looked fine. But inside the door seal was a grey-black film, the detergent drawer had grown a small ecosystem, and the filter hadn’t been touched since… ever, as far as I could tell.
Your washing machine lives in a warm, wet, dark environment, gets fed a constant diet of detergent, fabric softener, body oils, and lint, and is then sealed shut between washes. It is, essentially, a mildew incubator that occasionally washes clothes. Learning how to clean a washing machine properly — drum, seal, drawer, filter, the lot — takes under an hour with stuff you already own, and it fixes the smells, the grey film on “clean” laundry, and a good chunk of the breakdowns people pay engineers to fix.
This is the exact routine I now run. It works for front-loaders and top-loaders, with tweaks noted where they differ.
Table of Contents
How to Clean a Washing Machine: How Often Should You Clean It?
My schedule, after a lot of trial and error:
- Deep clean (this full routine): every 1–3 months. Monthly if you wash mostly on cold, wash cloth nappies or heavily soiled work clothes, or notice any musty smell.
- Door seal wipe-down: weekly, or honestly, whenever you remember — it takes twenty seconds.
- Drawer rinse: every month. Pull it out, rinse, dry.
- Filter clean: every 3–6 months, or immediately if the machine drains slowly or leaves clothes soaking wet.
If you only ever wash at 30–40°C — and most of us do, to save energy and protect fabrics — you need the monthly end of that range. Cold washes are gentle on clothes but they don’t kill the bacteria and mould building up in the machine. The deep clean is where that debt gets paid.
What You’ll Need
Nothing exotic. This is the full kit:
- White vinegar (about 500ml / 2 cups)
- Baking soda (about 100g / ½ cup)
- An old toothbrush
- Two microfibre cloths
- A shallow tray or old towels (for the filter step)
- Rubber gloves, if you prefer
- Optional: citric acid powder as a vinegar alternative
That’s it. No bleach needed — and I’d argue against it. Bleach is harsh on rubber seals, and if any residue lingers it can spot your next load. Vinegar and baking soda handle everything in this routine.
Step 1: Run a Hot Empty Cycle with Vinegar
Start with the drum. Pour 500ml of white vinegar directly into the drum (not the drawer — you want it undiluted in the tub). Run the longest, hottest cycle your machine offers — usually a 90°C cottons cycle or a dedicated “drum clean”/”tub clean” programme — with the machine completely empty.
The hot water plus vinegar dissolves detergent residue, fabric-softener wax, and the biofilm coating the drum and internal pipes. This is also where limescale gets tackled — if you live in a hard-water area, you’ll know the white crusty look. I use the same acid logic here as I do in my routine for removing hard water stains elsewhere in the house.
During this cycle, walk away. It needs no supervision.
Step 2: A Baking Soda Cycle (Yes, a Second One)
When the vinegar cycle finishes, sprinkle 100g of baking soda directly into the drum and run a second hot cycle — it can be a shorter one this time.
Why two steps instead of mixing? Because vinegar and baking soda neutralise each other. Mixed together, they mostly make slightly salty water. Run separately, you get the acid’s dissolving power first, then the soda’s deodorising and gentle abrasive action second. This is the step that kills the musty smell at its source.
Never add vinegar to the drum while clothes are in there, either — do both of these cycles empty.
Step 3: Clean the Door Seal (Front-Loader Owners, This Is the Big One)
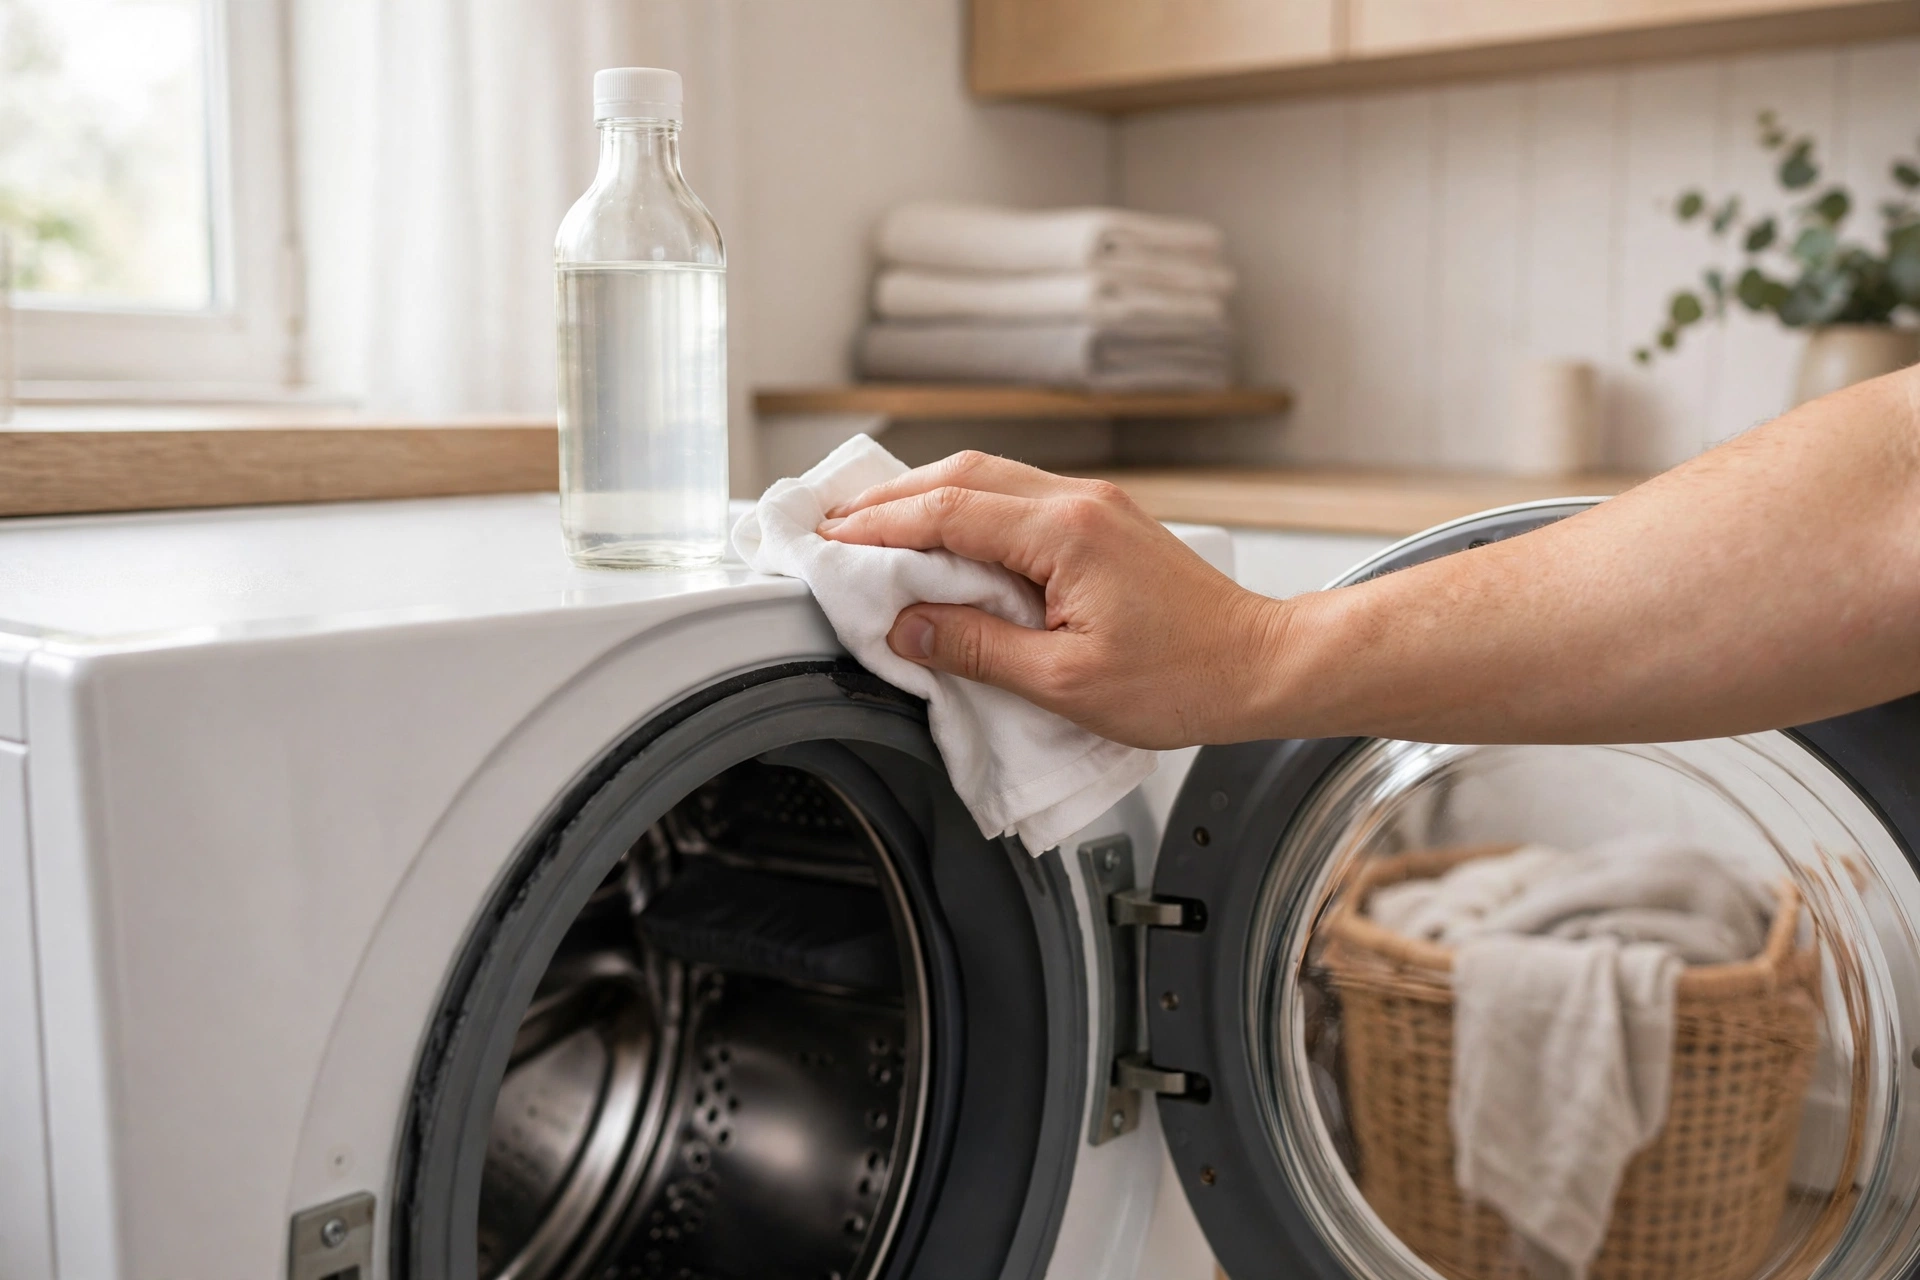
If your machine smells, odds are high the culprit is here. The rubber door seal (the gasket) on a front-loader has folds that trap water, lint, hair, and detergent. Sealed in darkness, it grows mould — those black spots that no amount of drum cycling will remove.
Pull the seal folds open with your fingers and wipe out everything with a vinegar-dampened cloth. For black mould spots, make a paste of baking soda and a little water, apply it with the toothbrush, scrub gently, leave for ten minutes, then wipe clean. Work your way around the full circle. You’ll find coins, hair grips, and lint you didn’t know you’d lost.
Top-loader note: you don’t have this seal, but wipe around the rim under the lid and the top edges of the drum, where the same film builds up.
Now the habit that prevents it all: leave the door ajar between washes. A closed door seals moisture in; an open one lets the drum dry. This single habit probably does more than any product.
Step 4: Remove and Scrub the Detergent Drawer
Pull the drawer out completely (most have a release tab in the middle compartment). You’ll likely find dried detergent clumps, black mould in the softener channel, and a general sliminess.
Soak the drawer in a sink of hot water with a splash of vinegar for 15 minutes, scrub every channel with the toothbrush, rinse, and dry it fully before it goes back. While it’s out, wipe inside the drawer housing in the machine too — the toothbrush reaches the jets and corners where mould hides.
And a gentle correction for most of us: you are probably using too much detergent. Modern concentrated detergents need far less than the scoop suggests, and the excess doesn’t rinse away — it becomes the film you’re now cleaning. Measure properly and the drawer stays cleaner for longer.
Step 5: Drain and Clean the Filter
This is the step people fear, and it’s actually simple. The pump filter (front-loaders: usually behind a small flap at the bottom front) catches lint, coins, and everything else that would kill the drain pump.
- Put a shallow tray or folded towels under the flap — water will come out.
- If there’s a small drain hose, open it and drain the residual water into the tray first.
- Unscrew the filter slowly. More water. That’s normal.
- Pull out the lint and debris, rinse the filter under the tap, and check inside the housing with your finger for anything stuck.
- Screw it back in firmly — hand-tight, properly seated, or it will leak.
That smell when you open the flap? That’s the smell that’s been perfuming your laundry room. Gone now.
Top-loaders: some models have a lint filter in the drum or agitator you can lift out and rinse; others are self-cleaning. Check your manual once — five minutes that saves a service call.
Step 6: Wipe the Exterior and Control Panel
Quick but satisfying: damp microfibre cloth, wipe the door glass inside and out, the control panel, and the top surface. Drips of detergent down the front of the machine clean up easily now and turn to concrete later.
Step 7: The Stainless-Steel Drum Check
Run your hand around the inside of the empty drum. Feel for rough spots or anything snagged — a bra wire, a screw from someone’s pocket. Check the drum holes for trapped debris. This thirty-second check prevents the mysterious tiny holes that appear in your best shirts.
Step 8: A Final Empty Rinse and the Dry-Out
Run one final short hot rinse with nothing in the machine — no vinegar, no soda — to flush any loosened residue out of the system. Then wipe the seal dry, leave the door wide open, and leave the detergent drawer pulled out a few centimetres so air circulates.
Done. The whole routine, excluding the unattended cycle time, is about twenty minutes of actual work.
If you enjoy this kind of home maintenance win, my guide to small laundry room organization ideas pairs well with a freshly cleaned machine — same room, same afternoon, completely different feel by dinner.
Habits That Keep the Machine Clean Between Deep Cleans
- Leave the door open after every wash. Non-negotiable for front-loaders.
- Wipe the seal dry after the last load of the day — twenty seconds.
- Use less detergent. Half the recommended dose is usually plenty; excess becomes residue.
- Run a hot wash occasionally. A monthly 60°C+ empty or towel load discourages mildew.
- Remove wet laundry promptly. Clothes left sitting in a sealed drum re-contaminate both themselves and the machine.
- Go easy on fabric softener. It coats the drum in a waxy film that feeds mould. Vinegar in the rinse compartment is a popular substitute — and it won’t build up.
Frequently Asked Questions
How often should I clean my washing machine?
Deep clean every 1–3 months — monthly if you mostly wash cold or notice any musty smell. Wipe the door seal weekly and clean the pump filter every 3–6 months to keep odours and drainage problems away.
Can I clean a washing machine with just vinegar?
Vinegar alone handles the drum cycle well and dissolves limescale and detergent residue, but the door seal, drawer, and filter need hands-on scrubbing. Use vinegar for the cycles and a baking soda paste for the seal — together, they cover everything.
Why do my clothes smell after washing?
Almost always because the machine itself is dirty — mould in the door seal, residue in the drum, or a clogged filter transferring odour back onto fabrics. A full deep clean plus leaving the door open between washes fixes it in nearly every case.
Is it safe to use vinegar in a washing machine?
Yes — white vinegar in an empty cleaning cycle is safe for the drum and seals and won’t harm the machine. Just never mix it with bleach, avoid using it on every single wash (acid overuse can age rubber), and don’t add it to a load of clothes.
What’s the white crusty buildup inside my machine?
That’s limescale from hard water, mixed with undissolved detergent. The hot vinegar cycle dissolves it. In hard-water areas, cleaning monthly and using the correct detergent dose for your water hardness prevents it coming back.
My machine has a “self-clean” cycle — is that enough?
It helps with the drum, and you should use it, but it does nothing for the door seal folds, detergent drawer, or pump filter. Run the self-clean monthly and do the hands-on steps every few months.
The Bottom Line
A washing machine cleans your clothes with water that passes over every internal surface — and when those surfaces are coated in mould, detergent sludge, and limescale, your “clean” laundry pays for it. An hour’s routine with vinegar, baking soda, and a toothbrush reverses months of buildup: a hot vinegar cycle, a baking soda cycle, a scrubbed seal and drawer, a drained filter, and the simple habit of leaving the door open afterwards.
Set a reminder for every two months. Your towels — and your nose — will notice the difference immediately.
For detergent dosing and water-saving laundry guidance, the U.S. Department of Energy’s laundry tips at energy.gov explain how much detergent modern machines actually need and why less is usually more.


3 Comments