

For years I assumed my coffee maker was just supposed to get slower and my coffee was supposed to taste a little bitter. I blamed the beans, the grind, even bought a new machine once — and the same thing happened again. Then a friend tasted my coffee and asked, “When was the last time […]
For years I assumed my coffee maker was just supposed to get slower and my coffee was supposed to taste a little bitter. I blamed the beans, the grind, even bought a new machine once — and the same thing happened again. Then a friend tasted my coffee and asked, “When was the last time you descaled that thing?” That embarrassment sent me down a rabbit hole, and that’s how I finally learned how to clean a coffee maker with vinegar the right way — not the quick splash-and-pray version, but a proper routine that actually works.
If you’ve never done it, learning how to clean a coffee maker with vinegar takes less than an hour of mostly hands-off time, costs almost nothing, and the difference is honestly shocking. The first pot after my first real descaling tasted like I’d upgraded my beans. Below: why vinegar works, the exact ratio, my step-by-step routine, flushing out the taste, and the mistakes I made so you don’t have to.
Table of Contents
Why Vinegar Works on Limescale (and the Signs Your Machine Needs It)
The first time someone told me how to clean a coffee maker with vinegar, I dismissed it as an internet hack. But the chemistry is solid: white vinegar is about five percent acetic acid, which dissolves calcium carbonate — the chalky mineral scale that builds up inside every appliance that heats water, especially the narrow tubes and heating element of a coffee maker.
It’s the same enemy I wrote about when covering removing hard water stains from my shower glass — minerals are relentless, and you have to dissolve them, not rinse around them. Once you understand that, knowing how to clean a coffee maker with vinegar stops feeling like folk wisdom and starts feeling like basic maintenance.
Your machine will tell you when it’s time: brewing takes longer, coffee sputters or comes out lukewarm, and it tastes bitter or flat even with fresh beans. White flakes in the carafe mean scale is breaking off inside the machine and landing in your cup. If any of that sounds familiar, don’t shop for a new machine — try the vinegar routine first.
What You’ll Need: The Vinegar-to-Water Ratio
Every guide on how to clean a coffee maker with vinegar I’ve ever read starts with the same humble bottle: plain white distilled vinegar — not apple cider, not balsamic, just the cheap kind from the grocery store. The ratio matters: too weak and it won’t dissolve the scale; too strong and the taste is harder to rinse out.
Here’s what I gather before I start: White distilled vinegar — enough for a full pot’s worth of solution; fresh cold water — the same water you’d brew with; a soft sponge and dish soap — for the removable parts; and optionally an old toothbrush — great for scrubbing the filter basket crevices.
For a standard 10–12 cup machine, use a 1:1 ratio — for a 12-cup carafe, that’s 6 cups of vinegar and 6 cups of water. Scale down for smaller machines (about 2.5 cups of each for a 5-cup), and use 1 cup of each for a single-serve pod machine. You don’t need to fill the reservoir to the brim — just enough solution to run through the system and sit in it.
My Step-by-Step Descaling Routine
Here’s how to clean a coffee maker with vinegar, step by step, exactly the way I do it. I’ve run this routine dozens of times, and once you’ve done it once, it becomes automatic.
Step 1: Empty everything. Dump old coffee, remove the used filter or pod, and rinse the carafe. Take out the filter basket and lid — we’ll clean those separately.
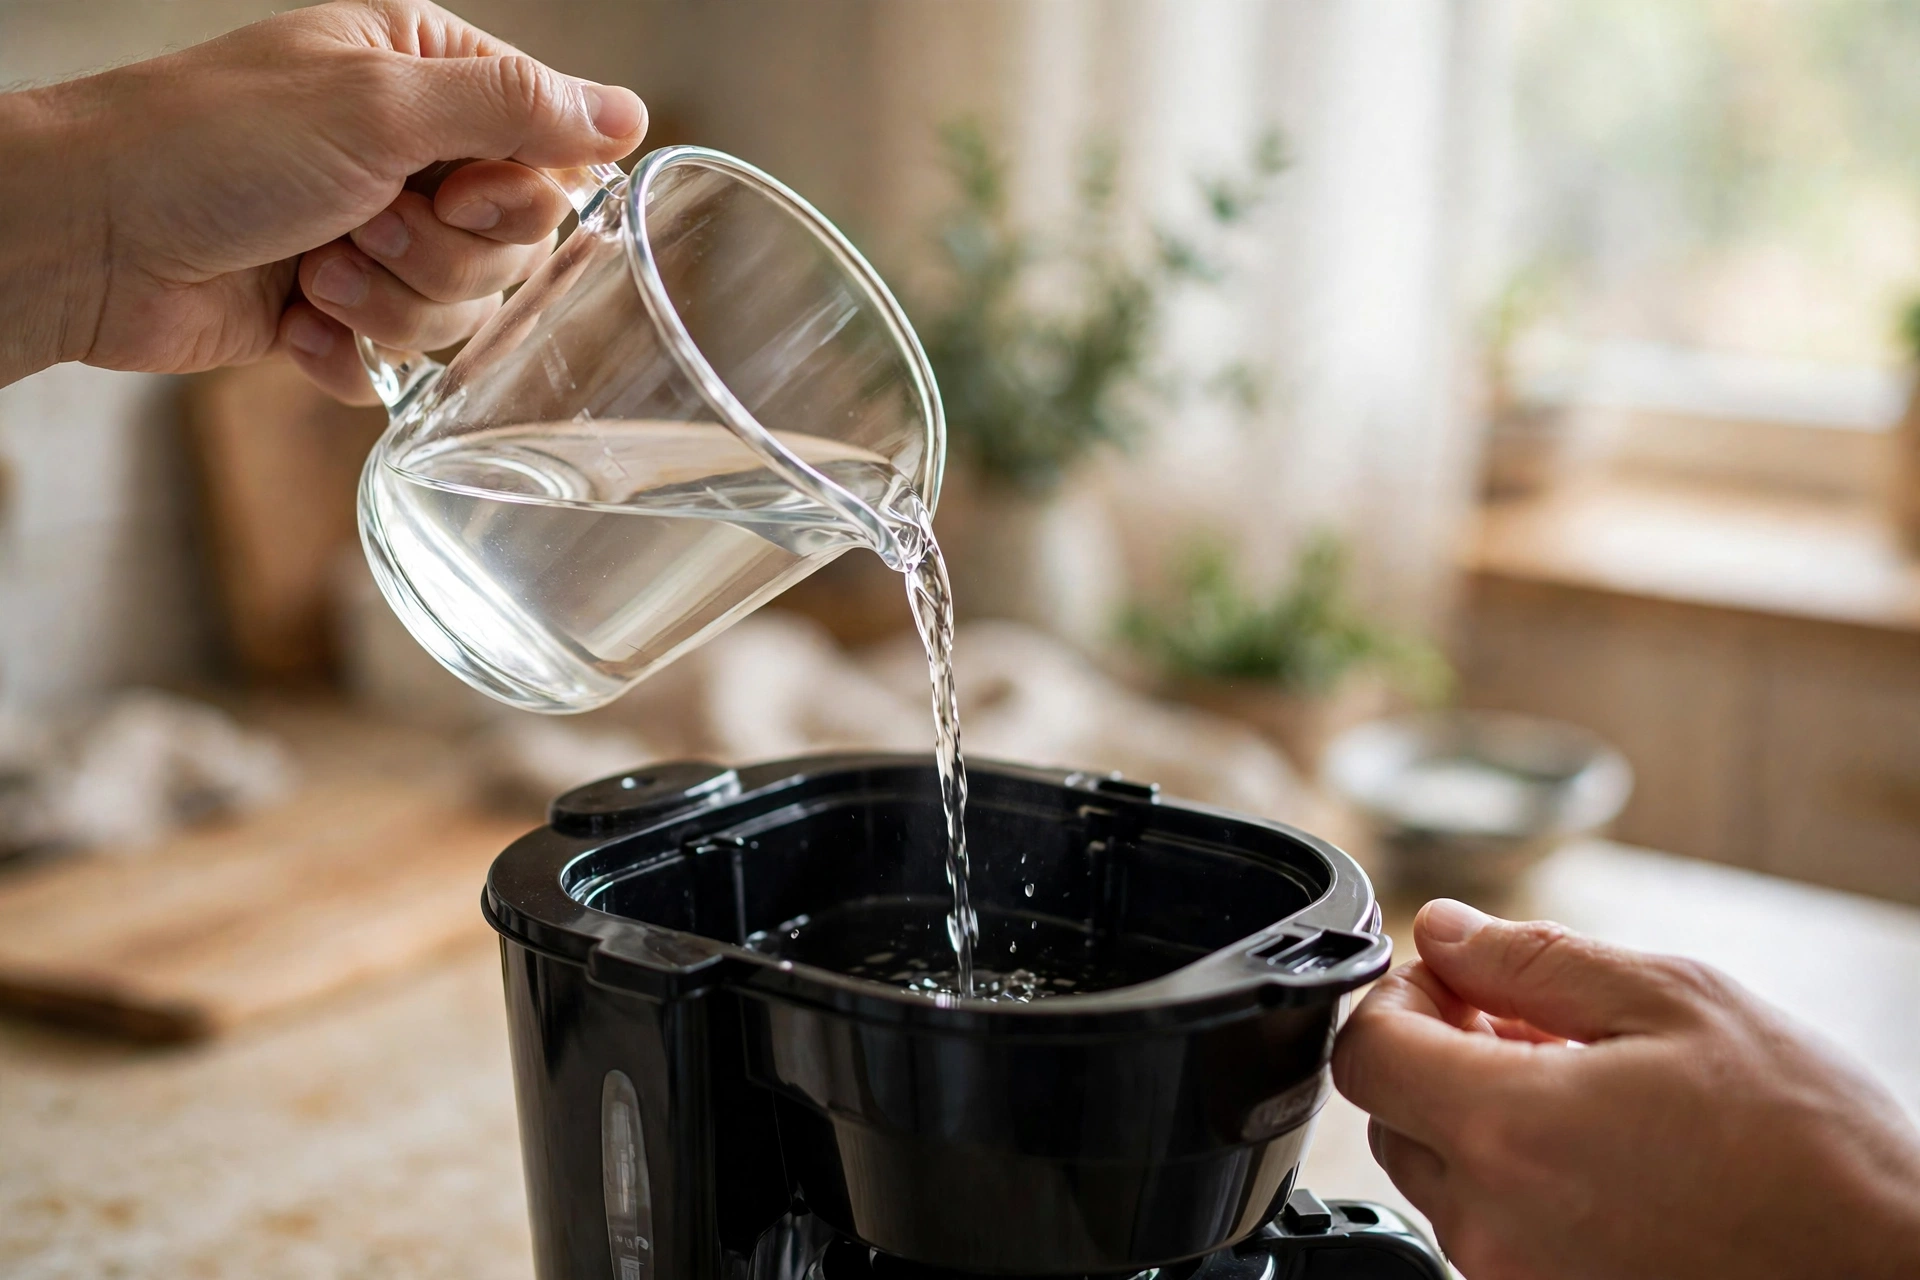
Step 2: Mix and pour. Combine equal parts white vinegar and fresh water and pour it into the reservoir. Put the empty carafe back on the warming plate with no filter in the basket.
Step 3: Run half a brew cycle. Start the machine, let it brew about halfway, then switch it off — this is the part most people skip, and it matters most.
Step 4: Soak 30 to 60 minutes. With the machine off, the hot solution sits inside the heating element, tubes, and spray head, dissolving the mineral scale. Thirty minutes is fine for regular maintenance; give it the full hour if this is your first time in a while. Once you know how to clean a coffee maker with vinegar properly, this soak becomes the step you never rush.
Step 5: Finish the cycle. Turn the machine back on and brew the rest of the solution into the carafe. The liquid may look cloudy or carry tiny particles — that’s dissolved scale at work.
Step 6: Rinse with plain water. Pour out the vinegar solution, rinse the carafe, then fill the reservoir with fresh water only and run a full brew cycle — at least twice, three times after a full-hour soak. Skimping here is what causes coffee that tastes like salad dressing.
Don’t Skip the Carafe and Filter Basket
Learning how to clean a coffee maker with vinegar isn’t just about running a cycle through the machine — the visible parts need attention too. While the solution soaks, I use that downtime on the carafe and filter basket.
The carafe collects mineral scale plus the brown oily film coffee leaves behind. Fill it with warm soapy water, let it sit ten minutes, then scrub with a soft sponge — never steel wool, which scratches glass permanently. For stubborn brown stains, a spoonful of baking soda in the water left for fifteen minutes lifts the staining right off.
The filter basket is sneakier: coffee oils collect in its ridges and drip opening and eventually go rancid, which affects taste more than people realize. Wash it in hot soapy water with a toothbrush on the crevices, and scrub both sides of any permanent gold-tone filter — clogged mesh is a classic cause of slow brewing that people wrongly blame on the machine. Wash the carafe lid too; residue hides under the pour spout.
How Often Should You Descale?
One question I get a lot is how often to repeat the process after learning how to clean a coffee maker with vinegar. Here’s my framework: Hard water? Descale monthly. If your kettle or faucets get crusty buildup, your coffee maker is getting it too — just where you can’t see it. Soft or filtered water? Every two to three months. Soft water builds scale more slowly, but it still builds it. Brew daily? Lean toward monthly even with decent water — more water volume means more minerals passing through the heating element.
Honestly, even coffee brewing experts recommend regular descaling as the single highest-impact maintenance habit for home machines — a scaled-up heating element can’t reach proper brewing temperature, and cool-brewed coffee tastes sour and under-extracted. My system: the first Saturday of every month, on my calendar next to “water the plants.”
Mistakes to Avoid
The first time I researched how to clean a coffee maker with vinegar, I almost grabbed the wrong bottle — here’s what to avoid. Don’t use apple cider or flavored vinegars. Only plain white distilled vinegar. Flavored vinegars leave residue and odor that are much harder to rinse out. Don’t skip the soak. This is the number one reason people say “vinegar didn’t work for me” — running the solution straight through gives the acid almost no contact time with the scale. Don’t leave the solution in overnight. An hour is plenty — longer soaks can degrade rubber gaskets and seals. Don’t forget to remove the paper filter first. It soaks up the solution and clogs. Empty basket, no filter, no pod. Don’t use vinegar where the manufacturer forbids it. Some high-end espresso machines and single-serve models specify their own descaling solutions — check your manual if you have a fancy machine.
How to Flush Out the Vinegar Taste Completely
The second most common complaint about how to clean a coffee maker with vinegar is the taste that lingers afterward — almost always rushed rinsing. Here’s how I make sure it’s gone.
Run at least two full brew cycles with fresh water only after the vinegar cycle — I do three after a full-hour soak. Each cycle dilutes whatever remains in the internal tubing. Dump the carafe between cycles; don’t keep brewing into the same water.
Then wash the carafe and all removable parts again with hot soapy water. The carafe held vinegar solution, and a quick rinse isn’t enough to remove the smell.
Sniff test: smell the carafe and the rinse water. If you catch even a whiff of vinegar, run one more cycle — cheap insurance.
My trick: for the final rinse cycle, I add about a teaspoon of baking soda to the water to neutralize any last traces of acidity, then run one more plain-water cycle after that. Maybe it’s overkill — but I’ve never once had vinegar-flavored coffee, and my morning cup is sacred.
Troubleshooting: Slow Brewing, Bitter Coffee, and Other Signs
After you learn how to clean a coffee maker with vinegar, most common brewing problems disappear — which is how you know the scale was the culprit all along.
Slow brewing or sputtering: The classic scale symptom — mineral buildup narrows the water tubes. A full descale with the soak almost always fixes it; if not, check your reusable filter for clogged coffee oils, which mimic scale symptoms perfectly.
Bitter or burnt-tasting coffee: Scale on the heating element makes temperature control erratic. Descale first, then check your coffee-to-water ratio — stale beans are the other usual suspect.
Coffee isn’t hot enough: A scaled heating element can’t transfer heat efficiently; descaling restores heat transfer. If coffee is still lukewarm afterward, the element itself may be failing — that’s a replacement conversation.
White flakes in the carafe: That’s scale breaking loose — a sign your descaling is working, if it happens during or right after a vinegar cycle. Run an extra rinse cycle and it should clear.
FAQs
Can I use vinegar in a single-serve pod machine?
Yes, with a small adjustment. When you’re figuring out how to clean a coffee maker with vinegar for a pod machine, use about 1 cup of white vinegar mixed with 1 cup of water, run it through without a pod inserted on the largest cup setting two or three times, let it sit for 30 minutes, then run several fresh-water cycles. Pod machines have very narrow internal lines, so they benefit enormously from regular descaling. Check your manual first if the manufacturer insists on their own descaling solution.
Will vinegar damage my coffee maker?
Used correctly, no. White distilled vinegar at a 1:1 dilution, soaked for an hour or less and rinsed thoroughly, is safe for the vast majority of drip coffee makers — it’s what countless manufacturers themselves suggest. The risk comes from misuse: leaving full-strength vinegar in overnight or using it in a machine whose manual explicitly prohibits acidic descalers.
What if I hate the smell of hot vinegar?
Open a kitchen window or turn on the range hood fan before you start, and the smell clears quickly. It doesn’t linger in the machine once you’ve rinsed properly. If you’re truly sensitive, commercial descaling solutions work on the same principle (usually citric acid) and smell less — but they cost far more per use, which is why I stick with vinegar and a cracked window.
Can I use baking soda instead of vinegar?
Baking soda is great for scrubbing the carafe and deodorizing, but it’s not a substitute for descaling. It’s alkaline, and mineral scale needs acid to dissolve — that’s the whole reason this guide on how to clean a coffee maker with vinegar works. Use vinegar for the internal descale, and save the baking soda for the carafe scrub and final neutralizing rinse.
My machine’s descale light won’t turn off. What now?
That light usually means the machine’s internal counter thinks it’s overdue. Most machines reset it when you run their dedicated cleaning or descale mode — usually activated by holding a button for a few seconds. Run your vinegar solution through that mode, and the light should clear when it completes.
Just Put It on the Calendar
That’s my complete guide on how to clean a coffee maker with vinegar — the routine I wish someone had handed me years ago instead of letting me blame my beans. It costs almost nothing, takes under an hour, and the payoff is faster, hotter, better-tasting coffee. I noticed the difference in the very first pot.
If this is your first time learning how to clean a coffee maker with vinegar, put it on your calendar — monthly for hard water, every couple of months otherwise. And if your machine has been struggling, don’t write it off yet. Give it the vinegar treatment first: you might save the cost of a new machine and end up with better coffee than you’ve had in months.


3 Comments