

Okay, so you finally did it. You bought the cast iron skillet. Maybe it was an impulse buy at the store, maybe your grandmother swore by hers, or maybe you just got tired of nonstick pans that flake and die after a year. Either way, welcome — you made a great choice. But now the […]
Okay, so you finally did it. You bought the cast iron skillet. Maybe it was an impulse buy at the store, maybe your grandmother swore by hers, or maybe you just got tired of nonstick pans that flake and die after a year. Either way, welcome — you made a great choice. But now the pan is sitting on your counter, and there’s a good chance it looks… well, kind of dull and sad. Maybe it even has a rough, gray-ish surface, or it came with a suspiciously shiny black coating that you don’t quite trust yet.
That pan needs one thing before it becomes your favorite thing in the kitchen: seasoning. And if this is your first time dealing with cast iron, the idea of learning how to season cast iron skillet for the first time can feel oddly intimidating. Everyone online seems to have STRONG opinions about it. Flaxseed oil or nothing! Never use soap! Bake it upside down for six hours! It’s enough to make you wonder if you need a chemistry degree to cook an egg.
You don’t. I promise. I’ve seasoned a bunch of these pans now — including a rusty old one I rescued from a flea market — and the process is genuinely simple once someone explains it like a normal human. So that’s what this is: my plain-language walkthrough of exactly how I season cast iron skillet for the first time, what actually matters, and what doesn’t. No fear-mongering, no myths, just the steps that work. By the end, you’ll know exactly how to season cast iron skillet for the first time without any stress.
Table of Contents
What “Seasoning” Actually Means (It’s Just Science)
Let’s demystify this word first, because “seasoning” is a weird term for what’s really going on. We’re not talking about salt and pepper here. Seasoning a cast iron skillet means building up a hard, protective, naturally nonstick coating on the iron — and that coating is made of oil that has been heated until it transforms.
Here’s the actual science, simplified: when you heat certain oils past their smoke point, the fat molecules break down and then re-bond into a tough, plastic-like layer that fuses to the surface of the iron. The proper word for this is polymerization. That layer is what makes a well-seasoned pan dark, smooth-ish, and nonstick. Each time you heat the pan with oil, you add another micro-thin layer to that armor. So when you season cast iron skillet for the first time, you’re really just laying down the first few foundation layers of that coating.
This is also why cast iron pans get better with age. A pan that’s been cooked in for twenty years has hundreds of polymerized layers. Your job today is simply to get the first few on there so food doesn’t weld itself to the metal on day one.
Before You Start: What You’ll Actually Need
Forget the specialty products and the cast iron “care kits” sold at markup. Here’s the honest, short list of what I use every time I season cast iron skillet for the first time:
- The skillet itself (obviously)
- Dish soap and hot water — yes, soap is fine for this step, we’ll get to that
- A drying setup: paper towels or a clean kitchen towel, plus your stovetop for heat-drying
- Cooking oil with a high smoke point: refined grapeseed oil, avocado oil, vegetable shortening (like Crisco), or plain canola oil. I usually reach for grapeseed or shortening. Don’t use olive oil for seasoning — its smoke point is too low and it’ll just make a gummy mess
- An oven that can hold 450°F (about 230°C)
- Aluminum foil for the oven floor to catch drips
- More paper towels for buffing (the “buff until it looks dry” part matters more than you’d think)
That’s it. No flaxseed oil required, no special wax, no mystical ingredients. I know flaxseed oil has its fans — there’s a whole internet faction devoted to it — and I’ll talk about that in the FAQ below. But for a first seasoning, plain high-smoke-point oil works beautifully and costs almost nothing. You don’t need anything special to season cast iron skillet for the first time.
First, Figure Out What You’re Working With: Pre-Seasoned vs. Raw Iron
Before you do anything, look at your pan. Most new cast iron skillets sold today — brands like the big American one everybody knows — come pre-seasoned from the factory. That means the manufacturer already baked on one or two layers of seasoning. The pan will look black and slightly rough, and it might feel a little waxy. That’s normal.
Now, here’s the thing most guides don’t tell you: factory pre-seasoning is real, but it’s thin. It’s a starting point, not a finished nonstick surface. I always do my own seasoning rounds on a brand-new pre-seasoned pan anyway, because two or three more layers at home make a noticeable difference right out of the gate. Think of the factory coat as a primer and your home seasoning as the actual paint.
On the other hand, some pans come as raw iron — gray, matte, almost silvery, with no black coating at all. These are often the cheaper store-brand pans or vintage finds. Raw iron will rust if you so much as look at it while it’s damp, so you absolutely want to season it before cooking anything. The good news: the process is exactly the same either way. The raw pan just might need one extra round to get that nice dark color started.
How to Season Cast Iron Skillet for the First Time: The Step-by-Step
Alright, here’s the whole process. Read it once through before you start, then just do it. The whole thing takes about three hours mostly because of oven time — your active involvement is maybe fifteen minutes per round. Follow along to season cast iron skillet for the first time the right way.
Step 1: Wash the pan with hot water and a little soap
Yes, soap. I know, I know — the internet’s favorite cast iron commandment is “never use soap.” But that rule applies to maintaining a seasoned pan (and even there it’s misunderstood, more on that later). When you season cast iron skillet for the first time, especially one straight out of the box, you want to strip off any factory wax, dust, or packaging residue. A little dish soap and hot water with a scrub brush or non-metal sponge does the job. Rinse it well.
Step 2: Dry it completely — and I mean completely
This is the step people rush, and it matters. Iron rusts when it sits wet, and rust under your new seasoning is bad news. First, towel-dry the pan thoroughly, inside and out. Then put it on the stove over medium-low heat for a few minutes until every last bit of moisture evaporates. You’ll see the color lighten as it dries. When the whole pan looks evenly dry and feels hot, you’re good. Take it off the heat and let it cool just enough that you can handle it with a towel — you want the pan warm, not cold, when the oil goes on.
Step 3: Apply a very thin coat of oil
Here’s where most first-timers go wrong, so read carefully: you need LESS oil than you think. Way less. Pour a teaspoon or two of your high-smoke-point oil into the warm pan and rub it all over — inside, outside, the handle, the bottom — with a paper towel. Then comes the critical move: take a fresh, clean paper towel and buff it all off. I mean really wipe it down like you made a mistake and you’re trying to remove all the oil. The pan should look almost dry, with just the faintest sheen.
Why? Because the thin film that’s left in the metal’s pores is all you need for polymerization. Excess oil doesn’t bake into extra seasoning — it bakes into a sticky, gummy, uneven mess. Every sticky cast iron pan I’ve ever seen came from too much oil in this step. When in doubt, wipe more off.
Step 4: Bake it upside down at 450°F (230°C)
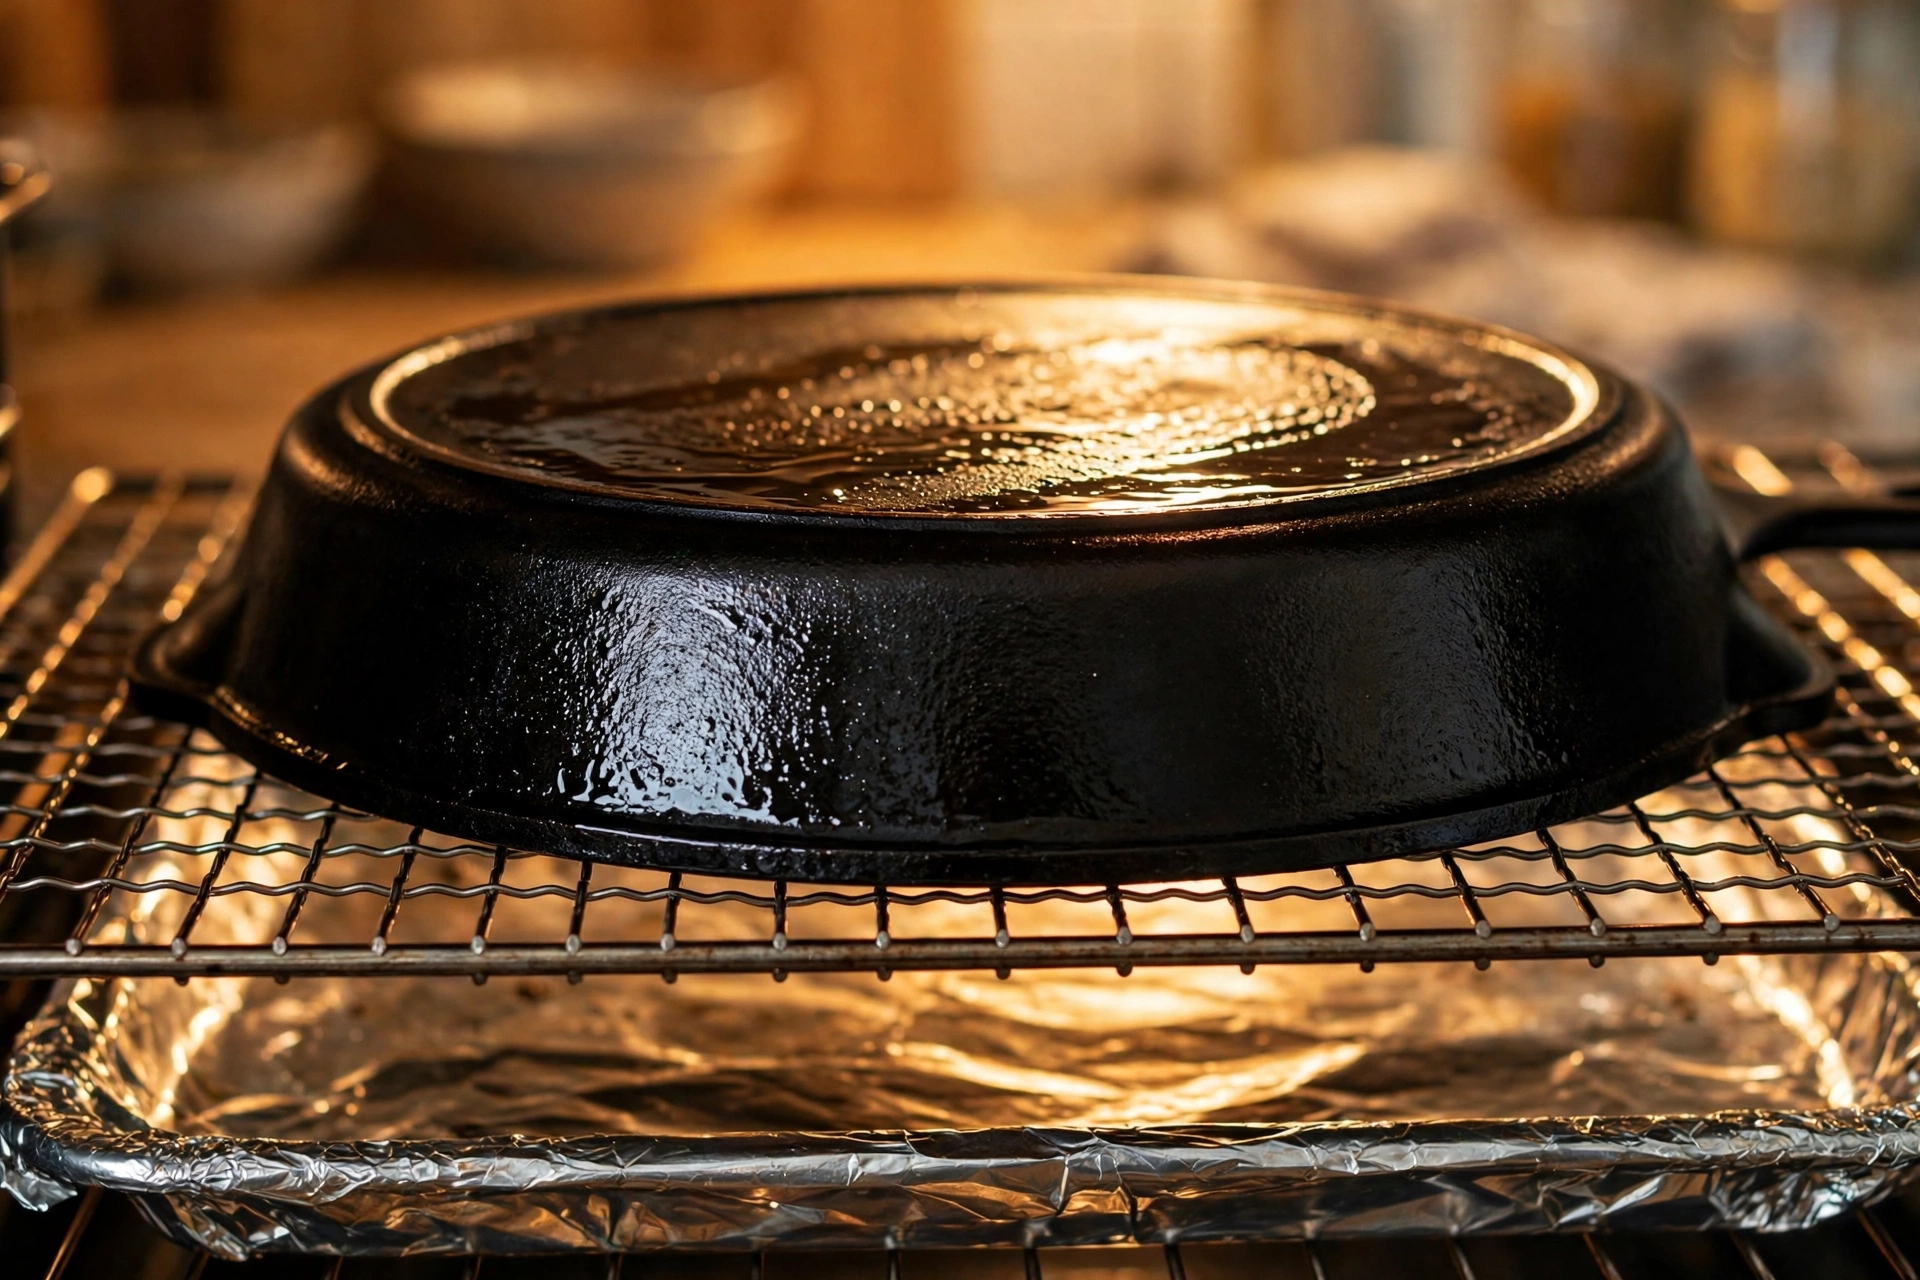
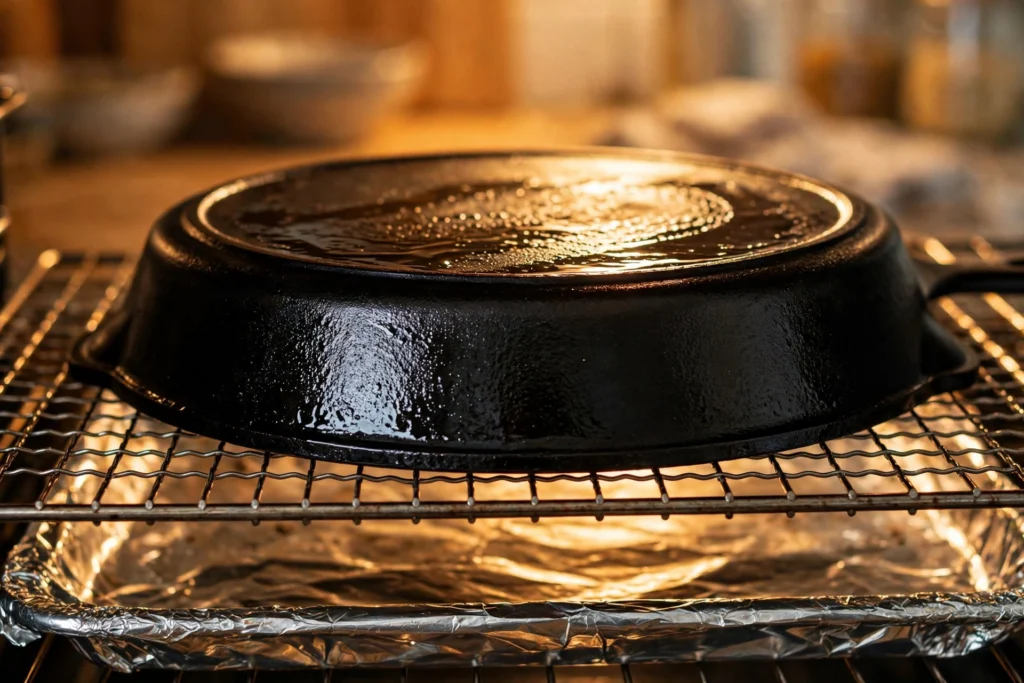
Line the bottom rack of your oven with aluminum foil to catch any drips (there shouldn’t be many if you buffed properly, but insurance is nice). Place the skillet upside down on the middle or top rack. Upside down is important: it lets any excess oil run off instead of pooling in the cooking surface, which prevents those annoying sticky spots and puddle marks.
Bake for a full hour at 450°F (230°C). Yes, it will smoke a little — that’s normal, it’s the oil polymerizing. Crack a window or turn on the vent fan. Don’t pull the pan out early; it needs the full hour for the oil to fully bond.
Step 5: Let it cool in the oven, then repeat
When the hour’s up, turn the oven off and just leave the pan in there to cool down gradually. Don’t run it under cold water — thermal shock is real and can warp the iron. Once it’s cool enough to handle comfortably, look at it: it should be slightly darker and have a subtle satin look, maybe with a bit of bronze or brown tint. That tint is completely normal on early layers; the deep black comes with more rounds and regular cooking.
Now repeat steps 3 through 5 at least two more times. Three total rounds is my standard for a first seasoning. Some people do four or five, and that’s fine too — there’s no real downside to extra rounds other than your time and electricity. But three solid rounds is the sweet spot where the pan is genuinely ready to cook on. That repetition is what builds a durable base when you season cast iron skillet for the first time.
Common Mistakes When You Season Cast Iron Skillet for the First Time
Since I’ve watched friends (and my past self) mess this up, here are the traps to dodge:
- Too much oil. I keep saying it because it’s the number one mistake. A sticky pan almost always means the oil layer was too thick. Buff until the pan looks dry.
- Too low an oven temperature. The oil needs to get past its smoke point to polymerize. At 350°F, most oils just… sit there getting tacky. Use 450°F (230°C) unless your oil’s smoke point is lower, in which case pick a different oil.
- Not drying the pan before oiling. Trapped moisture under the oil layer leads to rust spots and seasoning that flakes off. Heat-dry every time.
- Using olive oil or butter. Fine for cooking (mostly), terrible for seasoning. Low smoke point, gummy results.
- Rushing the cool-down. Plunging hot iron into cold water can warp it. Let it cool gradually in the oven.
Cooking With It the First Few Times: What to Make (and Avoid)
Your freshly seasoned pan is ready, but it’s still a baby — the seasoning is young and a little fragile. The best thing you can do for it in the first week or two is cook the right foods in it. Fatty, oily foods are your friend right now: fry some bacon, roast vegetables with olive oil, make cornbread, do a big batch of weekend breakfasts with eggs fried in butter. Every time you heat oil in the pan, you’re quietly adding to the seasoning. Cooking is seasoning, really. The first few cooks are what really lock in your work after you season cast iron skillet for the first time.
What to avoid in the first couple of weeks: long-simmered acidic dishes. I’m talking about tomato sauce simmering for two hours, or braising in wine for an afternoon. Acids dissolve young seasoning — it’s just chemistry. A quick sear of chicken in a lemon pan sauce? Totally fine. A three-hour ragù? Give it a month. This restriction relaxes a lot as the seasoning matures; my oldest pan handles tomato sauce without a blink.
How to Season Cast Iron Skillet for the First Time Is Only Half the Job: Daily Maintenance
Getting the first seasoning on is the project; keeping it is the habit. Fortunately the habit is easy. After cooking, while the pan is still warm, rinse it with hot water and scrub with a brush or a stiff sponge. For stuck bits, coarse salt as an abrasive works great, and a chainmail scrubber — those little stainless-steel mesh cloths — is the single best cast iron accessory I own.
Then dry the pan on the stove over heat (always, every time), and once it’s dry, rub in a tiny drop of cooking oil while it’s still warm and buff it out. That’s the whole routine. Thirty seconds of extra work and your seasoning lasts essentially forever. After you season cast iron skillet for the first time, this quick routine keeps the seasoning building.
What NOT to Do With Your Cast Iron (The Short Blacklist)
- Never put it in the dishwasher. The prolonged hot water, steam, and harsh detergent will strip seasoning and invite rust. Just don’t.
- Don’t soak it. A pan left sitting in a sink of water will rust. Wash, dry, done — promptly.
- Don’t store it damp. If you live somewhere humid, or you’re stacking pans, slip a paper towel between them and make sure the pan is bone dry first.
- Don’t thermal-shock it. Hot pan into cold water, or a cold pan onto a screaming-hot burner — both can crack or warp iron. Gentle transitions.
- Skip the long acidic simmers early on (as covered above). Revisit tomato-heavy cooking once the seasoning has a few months of use on it.
Seasoning FAQ: The Questions Everyone Asks
Is flaxseed oil really the best oil for seasoning? This is the internet’s most heated cast iron debate, and here’s my honest take: flaxseed oil polymerizes into a very hard layer, which sounds great in theory. In practice, a lot of people (myself included) find that flaxseed seasoning looks gorgeo This is especially true when you season cast iron skillet for the first time.us at first and then flakes off in sheets a few months later. It seems brittle. Grapeseed oil, avocado oil, vegetable shortening, and canola oil produce seasoning that’s slightly softer but far more durable and forgiving. For your first seasoning, I’d pick one of those every time.
Can I use soap on my cast iron? Yes — with a caveat. A little mild dish soap on a well-seasoned pan is fine. The old “no soap” rule dates back to when soap was made with lye, This matters even more right after you season cast iron skillet for the first time. which genuinely stripped seasoning. Modern dish soap is far gentler; it won’t touch polymerized seasoning. That said, you usually don’t need soap — hot water and a brush handle most messes. Use it when the pan needs it, not as a habit, and always dry and oil after.
My pan came out sticky. How do I fix it? Classic too-much-oil situation. Don’t panic and don’t scrub it back to bare metal. Just put the sticky pan back in the oven upside down Remember this the next time you season cast iron skillet for the first time. at 450°F (230°C) for another full hour. Often that finishes polymerizing the excess and the stickiness bakes out. If it’s still tacky after that, scrub the worst of it with coarse salt, then do a fresh thin-oil round. Prevention beats cure: next time, buff harder.
What if my pan has rust? Surface rust is fixable. Scrub it off with steel wool or a coarse salt paste until you’re back to bare metal (gray and clean), wash and dry thoroughly, then After restoring it, follow this guide to season cast iron skillet for the first time.just run the full first-seasoning process from the top of this guide. If the rust is deep pitting — actual craters in the iron — the pan will still work, it’ll just never be perfectly smooth. Vintage pans survive worse and cook beautifully.
How do I know when it’s “done”? There’s no finish line. After three rounds, your pan is seasoned and ready to cook. After a year of regular cooking, it’ll be noticeably darker and more nonstick. After ten years, it’ll be a family heirloom. Seasoning is a journey, not a destination — the cooking does most of the work from here on out.
The Bottom Line
Learning how to season cast iron skillet for the first time sounds like a whole production until you realize it’s really just: wash it, dry it, wipe on the thinnest whisper of oil, bake it upside down for an hour, repeat three times. That’s the entire recipe. Everything else — the oil debates, the soap arguments, the horror stories — is noise.
Do the three rounds, cook some bacon or roast some potatoes this weekend, and dry your pan on the stove every single time. A month from now you’ll wonder what you were ever nervous about — and according to the Mississippi State University Extension’s guide to seasoning cast iron, the same simple principles of thin oil layers and high heat are what the experts recommend too. Your grandkids might fight over this pan someday. Season it well. That’s truly all it takes to season cast iron skillet for the first time.


One thought on “How to Season a Cast Iron Skillet for the First Time: My No-Stress Guide to a Perfect Nonstick Finish”