

Three years ago, my fridge looked like a crime scene. Warped plastic tubs with lids that didn’t fit, one stained bright orange from a single batch of curry, another that smelled like garlic no matter how many times I ran it through the dishwasher. I was spending my Sundays cooking genuinely good food, then storing […]
Three years ago, my fridge looked like a crime scene. Warped plastic tubs with lids that didn’t fit, one stained bright orange from a single batch of curry, another that smelled like garlic no matter how many times I ran it through the dishwasher. I was spending my Sundays cooking genuinely good food, then storing it in containers that made me not want to eat it by Wednesday.
That’s when I switched to glass meal prep containers, and I’m not exaggerating when I say it changed my whole routine. This is the guide I wish someone had handed me before I bought my first set: glass versus plastic, the sizes you’ll really use, what to check before spending, and every mistake I made along the way.
Table of Contents
Why Glass Meal Prep Containers Beat Plastic for Weekly Prep
The biggest difference hit me within the first week: reheating. With plastic, I used to transfer everything to a plate before microwaving — more dishes, more hassle. With glass, the container is the plate. Lunch comes out of the fridge, the lid comes off, straight into the microwave. Two minutes later I’m eating. That alone was worth the switch.
Then there’s staining. Tomato sauce, turmeric, beetroot — plastic absorbs all of it. My old containers were a timeline of every red or yellow thing I’d ever cooked. Glass washes clean like new. Same with smells: I once stored fish curry in a plastic tub and it smelled like fish curry forever. Glass doesn’t hold onto odors.
Longevity is the quiet winner. Plastic warps, cracks, and goes cloudy, and its lids lose their seal after a year of dishwasher cycles. I’ve used the same glass containers for three years and they look like the day I bought them. The glass part, anyway — the lids are another story.
My honest counterpoint: glass is heavier, and it can break. I’ve dropped exactly two containers in three years, both on tile, and both died instantly. Plastic survives drops. So keep some plastic around for travel days or kids. For the fridge-to-microwave weekly prep cycle, though, glass wins, and it isn’t close.
The Types and Sizes That Actually Get Used
My first set of glass meal prep containers was a big bundle with every size imaginable. Within a month I was using about five pieces and the rest were just taking up cabinet space. Here’s what actually earns its keep.
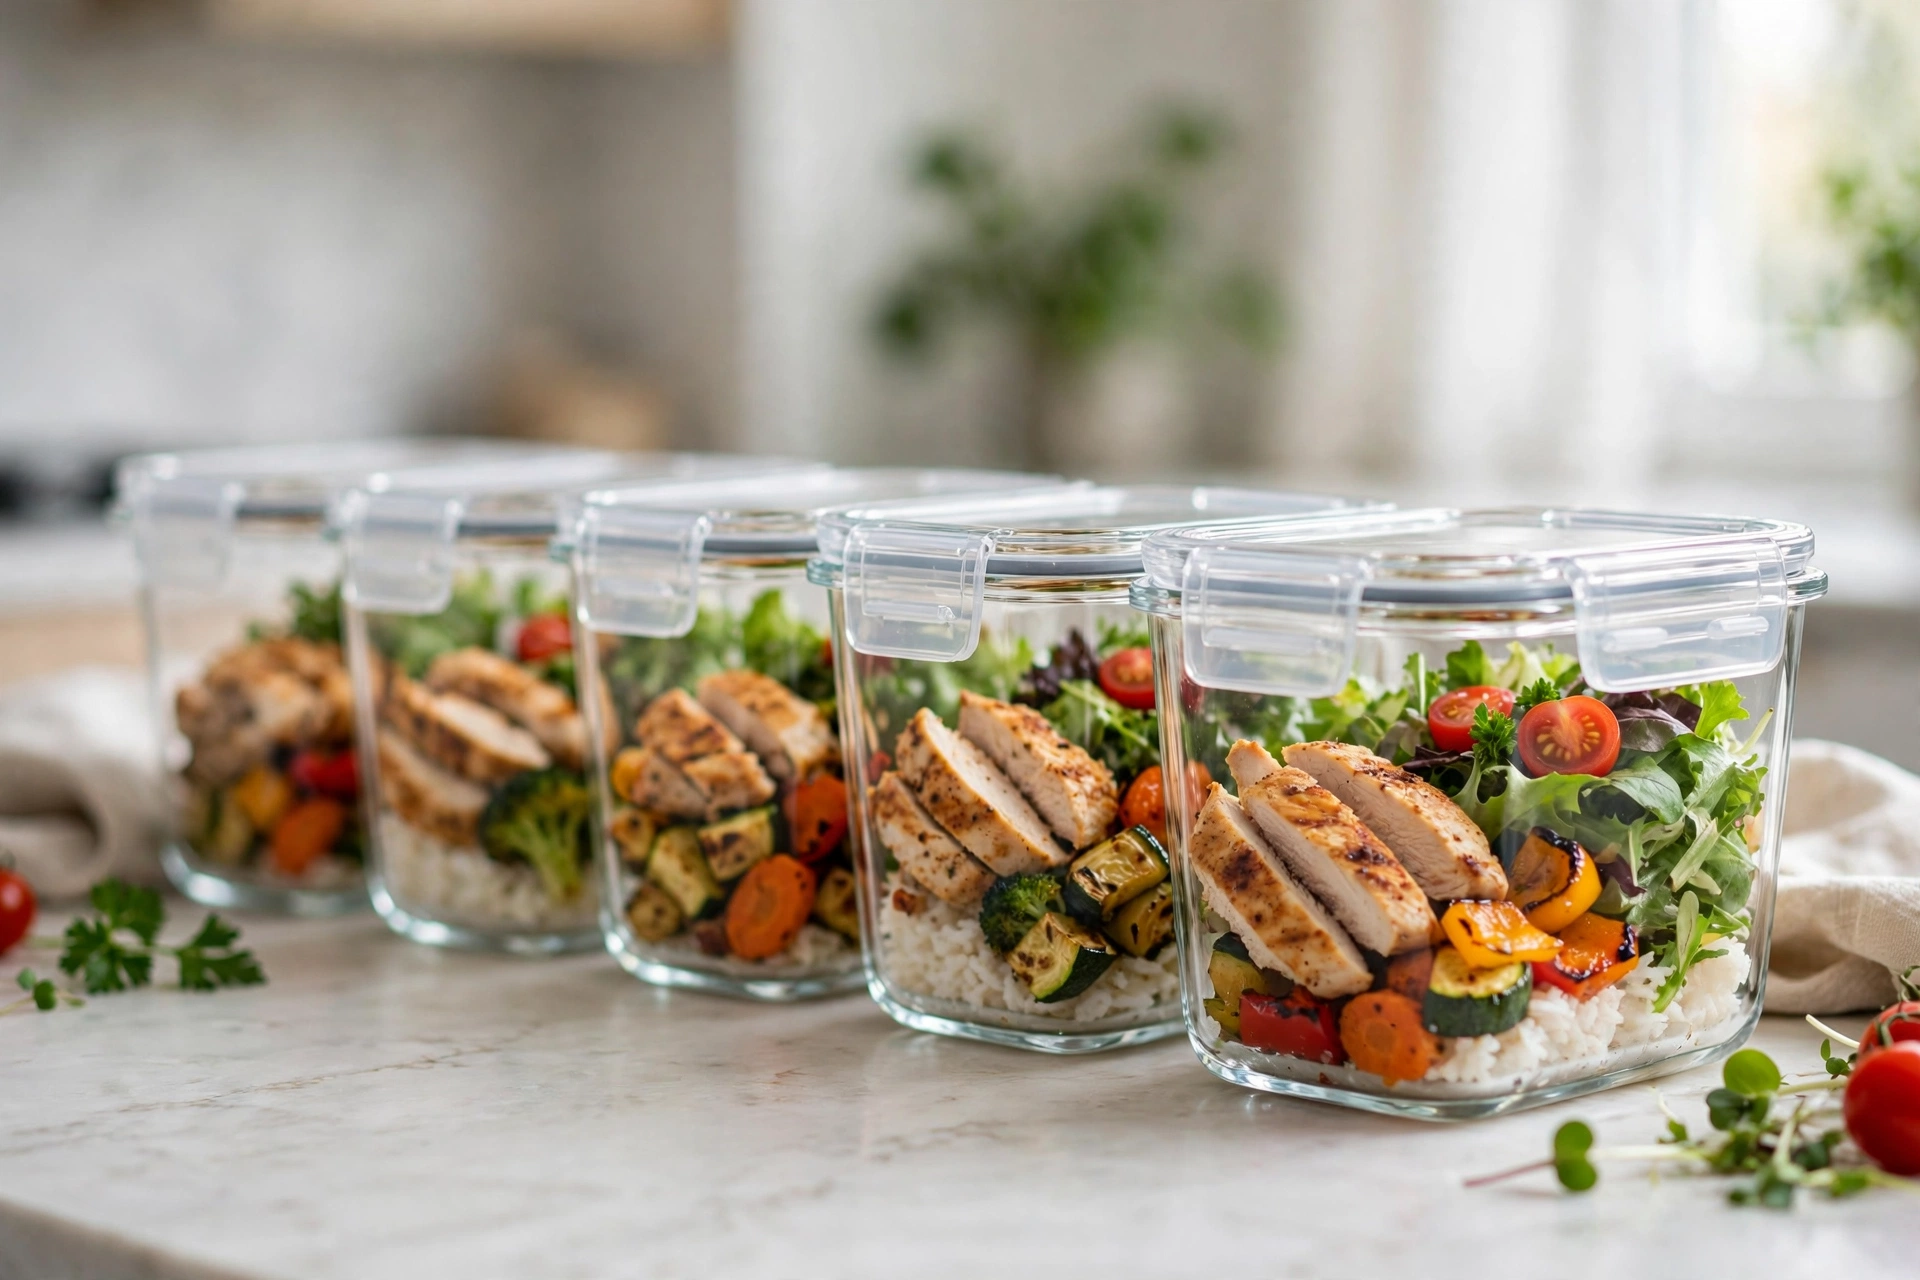
The workhorse of my glass meal prep containers is the single-compartment rectangular container, around 750 ml to 1 liter. Rice or grains, a protein, vegetables, all in one box. I own six and they’re in constant rotation.
Divided containers with two or three compartments are great if you don’t like your food touching. I’ll be honest: I use mine less than I expected. They’re harder to clean. One or two is plenty.
Round containers are your soup and stew vessels — they pour better and reheat more evenly than boxes with corners. Get a few around 500 to 700 ml if you prep a lot of soups, dals, or oatmeal.
Then the small ones — 200 to 350 ml for snacks, dips, hummus, and chopped fruit. These get used daily in my house; buy more than you think you need.
And a note on lids: snap-lock lids with silicone gaskets seal tight enough that I’ve carried soup in my bag without leaks. Avoid plain press-on lids — they warp and stop sealing within months.
What to Look for Before You Spend a Cent
A few things I learned the expensive way.
The glass itself. Look for borosilicate or tempered soda-lime glass. Borosilicate handles temperature swings best, but good tempered glass is fine for normal prep. If the listing doesn’t say what kind of glass it is, that’s a red flag.
Lid quality matters more than glass quality. This surprised me: every glass container I’ve owned has been fine; it’s the lids that fail. Look for snap-lock lids with a full silicone gasket — four locking tabs, and a gasket you can pull out and wash. That’s where smells and mold hide.
“Oven-safe” on glass does not mean the lid is oven-safe — it almost never is. Read the fine print: the glass might be rated to 230°C / 450°F while the lid is rated far lower. Same with freezer claims; cheap sets can crack.
Steam vents are a small thing that make a big difference. A little vent in the lid lets you microwave with the lid loosely on, which means no splatter-covered microwave and no plastic-wrap workaround.
Interchangeable lids across sizes. When three sizes share one lid design, your cabinet stays sane and a broken lid doesn’t retire a perfectly good container.
Dishwasher-safe, but with an asterisk. The glass can go anywhere in the dishwasher. Put lids on the top rack — the bottom heating element will warp them over time. Learned that one the hard way.
The Money Question: Is It Actually Worth It?
Glass meal prep containers cost more upfront, and that’s the main reason people hesitate: a decent set runs roughly two to three times the price of an equivalent plastic set.
Here’s the math that changed my mind: I used to replace plastic containers about once a year — warped lids, stained bases, cracked corners. Three cheap plastic sets cost more than the one glass set I bought once and still use.
You don’t have to replace everything on day one. Start with four or five glass meal prep containers for your most-used meals. Thrift stores often have individual glass containers for almost nothing — my two soup containers came from a charity shop and cost less than a coffee.
The one case where I’d still recommend plastic: travel. If the container rides in a backpack, a gym bag, or a kid’s lunchbox, light and shatterproof beats everything else. My house runs glass for the fridge and keeps a couple of beat-up plastic tubs for travel days. Best of both worlds.
My Sunday Meal Prep Workflow, Start to Finish
This is the routine I’ve settled into after a lot of trial and error. It takes me about two hours, and it covers lunches for the week.
Plan first, ten minutes. I pick two proteins, one or two grains, and three or four vegetables. That’s it. Chicken and lentils, rice and quinoa, broccoli, carrots, peppers, whatever’s cheap at the market. Simplicity is the whole trick — fancy weekly menus collapse by week two.
Cook in batches, not recipes. Everything goes at once: grains in the rice cooker, proteins in the oven on sheet pans, vegetables roasting or steaming. I don’t follow five recipes; I cook components and assemble.
Cool before you seal. This is the food safety part people skip, and it’s the one thing I won’t cut corners on. Hot food sealed in a container creates condensation and a warm, moist environment — exactly what bacteria love. Leave the containers open until food stops steaming, usually 20 to 30 minutes. For the official guidance on how long refrigerated leftovers stay safe, I follow the recommendations at https://www.foodsafety.gov/ — most cooked leftovers are good for about three to four days in the fridge, so I freeze anything meant for day five.
Portion and label. I portion straight into the glass containers while everything’s out. A strip of masking tape and a marker for the date — low tech, works perfectly.
Breakfasts get their own system. I prep overnight oats and egg muffins in the small round containers. If mornings are your weak point like they are mine, these nutritious breakfast ideas work beautifully in small glass containers and reheat in ninety seconds.
Reheat right. Lid off or vented, a splash of water on rice or grains to revive them, and stir halfway through. Glass heats evenly enough that you don’t get the frozen-middle problem as badly as plastic.
Cleaning and Care: How I Keep Mine Looking New After Three Years
Glass is easy. The lids are the project.
Wash the glass soon after eating. Dried-on food comes off with hot water and a normal sponge; for anything stubborn, a paste of baking soda and water left for ten minutes does the job without scratching. Skip the metal scouring pads.
Pull the silicone gasket out every few washes and wash it separately — you’ll be horrified the first time you see what hides underneath. Top rack of the dishwasher only. Never microwave the lids; vent them or take them off.
One real rule: avoid thermal shock. Don’t take a container from the freezer and put it straight into a screaming-hot oven. Let it thaw in the fridge first, or at least come closer to room temperature. Good borosilicate handles swings better, but the rule keeps everything safe.
I nest the glass meal prep container bases and stack lids separately in a small bin — one shelf, stays tidy. Interchangeable lids make this dramatically easier.
Myths About Glass Containers I Used to Believe
“They’re too heavy to be practical.” A standard lunch container weighs about the same as a paperback book. You notice it the first day; by day three you don’t. Unless you’re hiking with your lunch, the weight is a non-issue.
“They’ll crack in the freezer.” Only if you buy the wrong ones or fill them to the brim. Freezer-rated glass with an inch of headspace for expansion is completely fine. I’ve frozen soups, stews, and cooked grains for years without a single crack.
“You can’t microwave glass.” You absolutely can — that’s one of the main points. Glass is microwave-safe; it’s the lids you keep out of there. Loosen or vent the lid and you’re good.
“All glass containers are basically the same.” Two sets can look identical in photos and differ enormously in lid quality, gasket design, and whether the glass is actually tempered. Read reviews that mention the lids specifically — that’s where the truth lives.
Frequently Asked Questions
Can glass meal prep containers go in the oven?
Usually, yes — most glass is rated to around 230°C / 450°F. The lids cannot. Take the lid off, and check your specific set’s rating rather than assuming.
Can they go straight from freezer to microwave?
I wouldn’t. Thaw in the fridge overnight, then microwave — going from frozen to blasting heat stresses the glass, and even borosilicate has limits.
How long does meal-prepped food last in the fridge?
Three to four days for most cooked foods — that’s the standard food safety guidance. I cook on Sunday, eat through Wednesday, and freeze Thursday and Friday portions right after cooking so they’re fresh when thawed.
Do the lids wear out?
Yes — the lids are the weak point of every set. Gaskets loosen and locking tabs snap after a couple of years of heavy use. Buy sets with replaceable lids; a new lid beats replacing a whole container.
Final Thoughts
Three years in, my glass meal prep containers are one of the few kitchen purchases I’d make again without hesitating. They didn’t make me a better cook — they just removed every small annoyance, the stains, the smells, the warped lids, that made weekly meal prep feel like a chore. Start small: four containers, one Sunday, your usual recipes. I think you’ll be converted by Wednesday.