



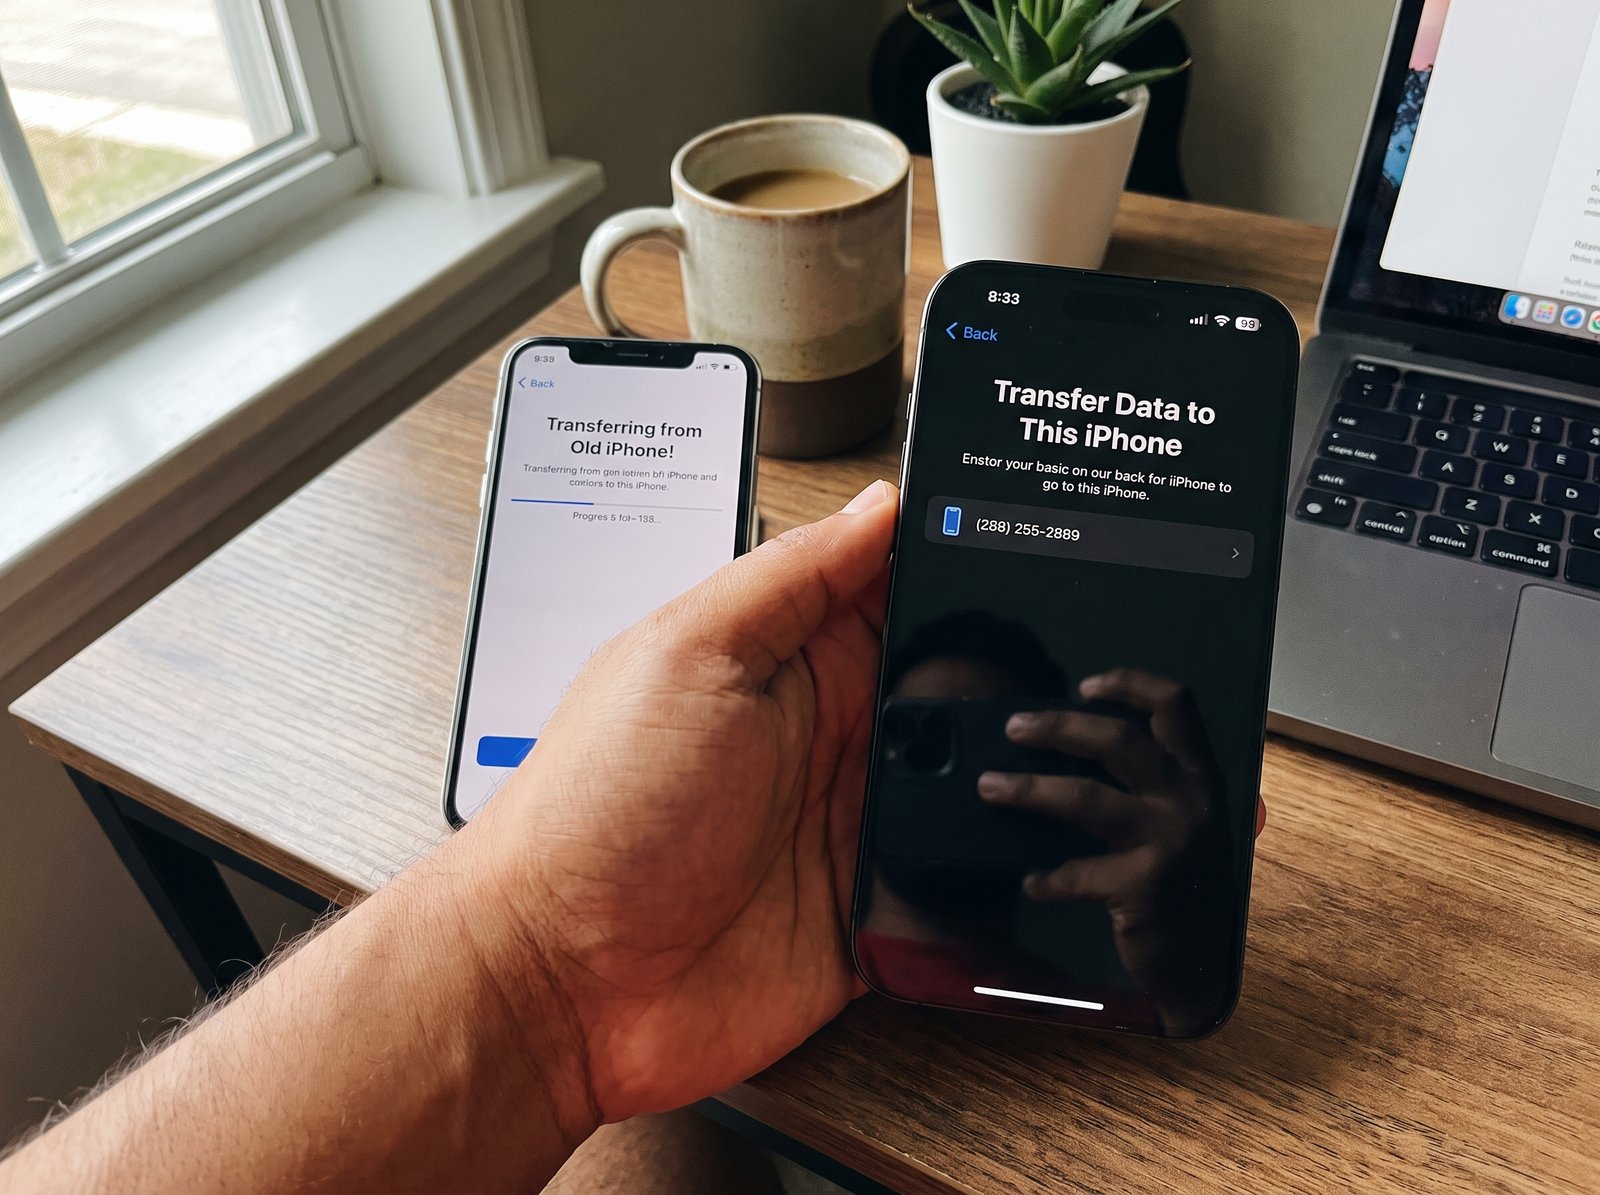
Getting a new iPhone is exciting, but moving your phone number from your old device to your new one can feel confusing, especially when you are dealing with eSIM, physical SIM cards, carrier activation, or a completely different iPhone model. The good news is that the process is much easier than many people expect. Once […]
Getting a new iPhone is exciting, but moving your phone number from your old device to your new one can feel confusing, especially when you are dealing with eSIM, physical SIM cards, carrier activation, or a completely different iPhone model. The good news is that the process is much easier than many people expect. Once you understand the difference between transferring your cellular plan and transferring your personal data, you can make the move without losing access to your calls, text messages, or mobile service.
Table of Contents
In this guide, we will explain how to transfer number to new iPhone using the methods supported by modern iPhones. We will cover eSIM transfers, physical SIM cards, Quick Start, carrier activation, iCloud, Windows and Mac backups, and the common problems that can stop a number from activating correctly. The exact screens can vary depending on your carrier, iPhone model, country, and cellular plan, but the overall process is straightforward.
One important thing to understand before starting is that transferring your number and transferring your data are not necessarily the same thing. Your contacts, photos, apps, messages, settings, and other personal content can be moved through Quick Start, iCloud, Finder, Apple Devices, or iTunes, while your phone number is connected to your cellular plan through a physical SIM or eSIM. Apple currently supports several ways to move cellular service to a new iPhone, including eSIM Quick Transfer where the carrier supports it.
Taking a few minutes to prepare your old iPhone before starting can save you from activation problems later. Keep the old iPhone nearby, make sure it has power, connect it to Wi-Fi, turn on Bluetooth, and have your device passcode and Apple Account credentials available. If your carrier requires an additional verification step, you may also need access to the account associated with your mobile plan.
How to Transfer Number to New iPhone Using the Easiest Method
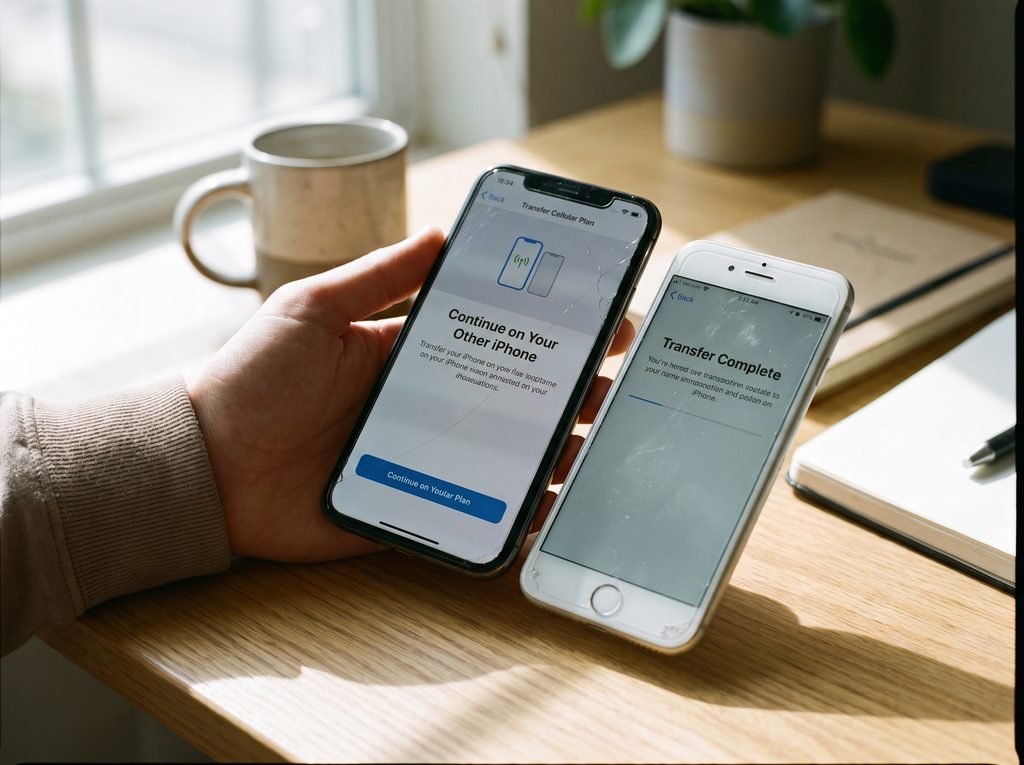
For many people, the simplest answer to how to transfer number to new iPhone is to use the transfer option that appears during the new iPhone setup process. When supported by your carrier, eSIM Quick Transfer allows you to move your cellular plan from an old iPhone to the new one without physically moving a SIM card.
Apple says that when the cellular plan activates on the new iPhone, the previous SIM is deactivated. This means you should not expect the same cellular line to remain active independently on both devices after a successful transfer.
Before you begin, place the old iPhone and new iPhone close together. Both devices should have Bluetooth turned on, and the previous iPhone needs to be unlocked with its device passcode. Apple currently lists iOS 18.4 or later as a requirement for the nearby-device eSIM transfer process described in its support documentation.
Turn on the new iPhone and follow the setup instructions. During setup, you may see an option asking you to transfer your cellular plan or phone number. Follow the onscreen instructions on both devices. You may be asked to confirm the transfer on the old iPhone or enter a verification code displayed on the new iPhone.
After you approve the transfer, wait for the cellular plan to activate. Do not immediately erase or sell your old iPhone. First, make a test phone call, send a text message, and check whether mobile data works on the new iPhone. Once everything is working correctly, you can safely move on to the remaining setup tasks.
What You Need Before You Transfer Your Phone Number
A smooth number transfer begins with preparation. The first thing to check is whether your new iPhone uses a physical SIM, eSIM, or supports both. Physical SIM support varies by iPhone model and region, so it is important to look at the specific device you purchased rather than assuming every iPhone works the same way.
You should also check whether your mobile carrier supports eSIM Quick Transfer. Apple maintains a carrier and region list showing which providers support different eSIM activation methods. Not every carrier offers the exact same process, and some providers may require carrier activation, a QR code, an app, or another verification method instead.
Keep both phones charged or connected to power during setup. Apple recommends keeping devices near each other and plugged into power while a direct data migration is running. Transfer time can vary depending on network conditions and the amount of information being transferred.
It is also wise to create a current backup of the old iPhone before changing anything. A recent backup provides an additional safety net if you encounter a setup problem, lose data, or need to restart the migration process.
Your Apple Account password should also be available. Some services, applications, media purchases, and protected information may require authentication after you move to the new phone.
How to Transfer an eSIM From Your Old iPhone
eSIM is one of the most convenient ways to move a number because there is no physical card to remove and insert. Instead, the cellular plan is stored digitally on the device and activated through the carrier.
If your carrier supports eSIM Quick Transfer, start by placing the old iPhone next to the new iPhone. Make sure both are signed in appropriately, the old iPhone is unlocked, and Bluetooth is enabled. Apple states that when using this nearby transfer process, both iPhones should be on iOS 18.4 or later.
During setup of the new iPhone, follow the prompts related to transferring your phone number. The exact wording can differ by region and carrier. The new iPhone may show the available cellular plan from the nearby iPhone.
Select the number or cellular plan you want to move and follow the instructions. Your old iPhone may ask you to confirm the transfer. In some situations, the new iPhone displays a verification code that you must enter on the previous device.
Wait for activation to finish. When the new cellular plan becomes active, the previous SIM is deactivated. If you see a message asking you to finish setting up your carrier’s cellular plan, follow that message and complete the carrier’s additional activation steps. Apple notes that some transfers can redirect you to the carrier’s website for completion.
Once activation is complete, open Settings and check the Cellular section. Confirm that your number appears correctly and that your carrier information looks normal.
How to Transfer Number to New iPhone After Setup
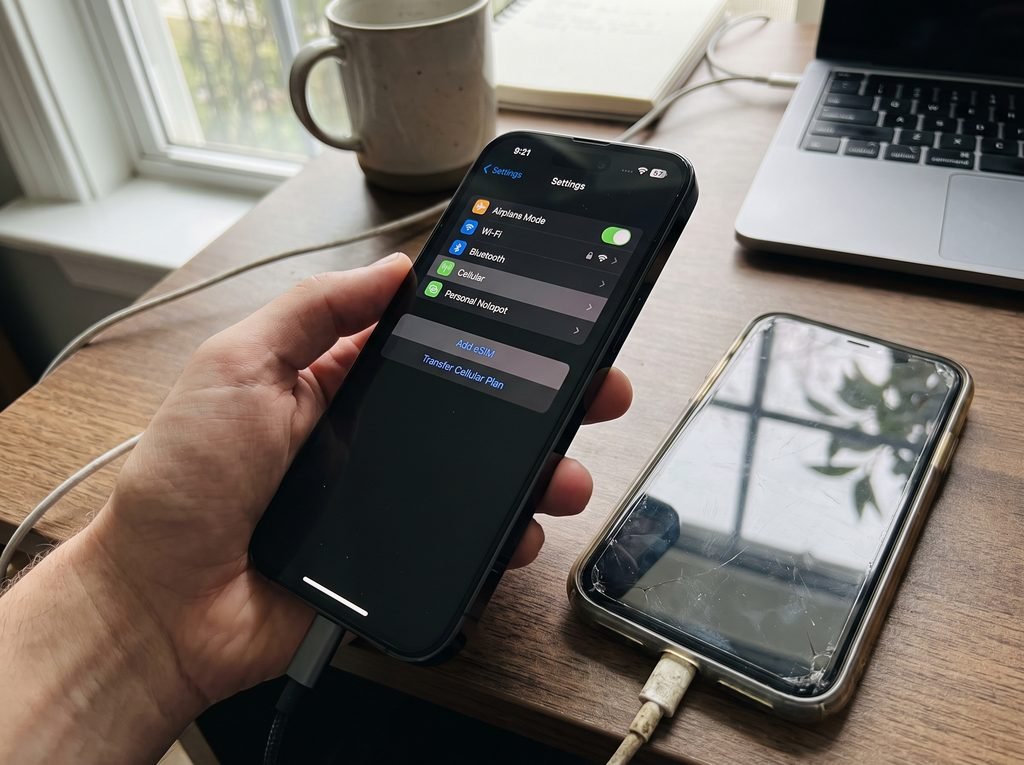
Sometimes you finish setting up the new iPhone first and only later realize that your phone number was not transferred. That does not necessarily mean you need to erase the phone.
On supported devices and carriers, Apple allows you to initiate cellular transfer after setup. On the new iPhone, open Settings, select Cellular, and look for Set Up Cellular or Add eSIM. From there, choose the option to transfer a cellular plan from another iPhone. If the old number does not immediately appear, Apple says you may see an option such as Transfer From Nearby iPhone.
Follow the instructions shown on both devices. Confirm the transfer on the old iPhone, enter a verification code if requested, and wait for the new iPhone to activate the plan.
This method is useful when you skipped the cellular transfer during the initial setup or when you deliberately postponed your mobile-service activation until after moving your data.
How to Move a Physical SIM Card to a New iPhone
If your old iPhone uses a physical nano-SIM and your new iPhone has a compatible physical SIM slot, transferring the number may be as simple as moving the card.
Before removing the SIM, turn off both devices or follow the manufacturer’s recommended process. Locate the SIM tray, use a compatible SIM eject tool, remove the card carefully, and place it into the corresponding tray on the new iPhone.
The SIM card itself is associated with your cellular service, which means inserting the active SIM into the compatible new phone can allow the same number and plan to work on that device.
However, physical SIM support is not universal across all iPhone models or regions. Apple specifically notes that physical SIM is not supported on all models, while eSIM availability can also vary by country and region.
After inserting the SIM, turn on the new iPhone and wait for the network to appear. Check the Cellular section in Settings and then make a test call. You should also verify SMS messaging and mobile internet.
If the new iPhone does not recognize the SIM, do not repeatedly force the card into the tray. Check that the card is correctly positioned and supported by the device. If the problem continues, contact the carrier to determine whether the SIM needs to be replaced or converted to eSIM.
How to Transfer Number to New iPhone When Moving From an Older Model
Moving from an older iPhone to a newer model can introduce an extra consideration: the type of SIM technology supported by the new device.
For example, an older iPhone may use a physical SIM while the new iPhone relies on eSIM in your market. In that situation, simply moving the physical card may not be possible. Instead, you may need to transfer or activate the plan digitally through the carrier.
This is why checking your exact iPhone model and region before beginning is important. Apple provides carrier information showing which providers support eSIM and which activation methods they offer.
Your carrier may let you convert your existing physical SIM into an eSIM. Apple says some carriers support converting a current physical SIM to an eSIM on the same iPhone, although this capability depends on the provider.
If your carrier does not support automatic transfer, you may need to use its app, website, customer-service process, QR code, or another activation method.
Does Quick Start Transfer Your Phone Number?
Quick Start is primarily a setup and data-migration system, but it can also guide you through cellular activation during the new iPhone setup process.
Apple says Quick Start can automatically set up a new iOS device using a nearby iPhone or iPad. The old device should have Wi-Fi connected and Bluetooth turned on, while the new device is placed nearby. During setup, you may be asked to activate cellular service.
Quick Start can help move apps, settings, and other content, but users should still pay attention to the cellular-service prompts. Data migration and number activation are related parts of moving to a new iPhone, but they are not identical processes.
When using direct device-to-device transfer, Apple recommends leaving the phones close together and connected to power until the migration is finished.
The biggest mistake is assuming that completing the data transfer automatically guarantees that the cellular plan has been activated. Always confirm the phone number and network service separately after setup.
How to Transfer iPhone Data and Your Number at the Same Time
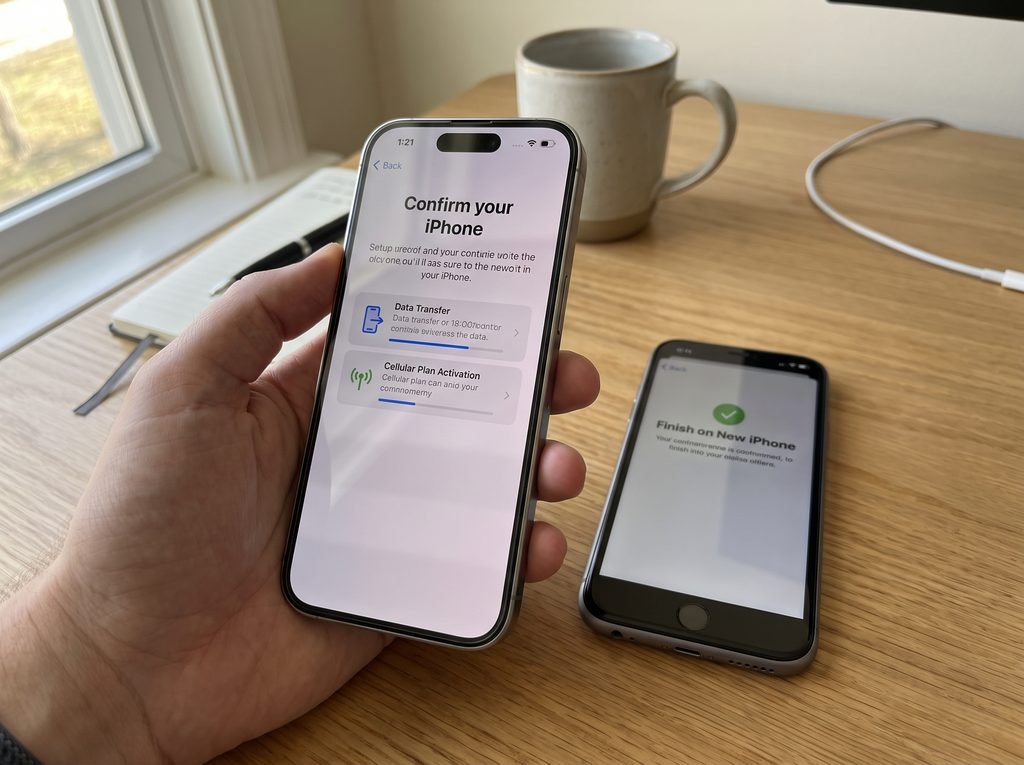
Many people searching how to transfer number to new iPhone are actually trying to move their entire digital life at once. That includes the number, contacts, photos, apps, settings, messages, and other important data.
A good approach is to treat the move as two connected tasks. First, prepare the old iPhone and begin the new-device setup. Second, allow the cellular plan transfer to complete while also choosing your preferred data migration method.
Quick Start can transfer information directly from the old iPhone. Apple also supports downloading data from iCloud during the setup process. With iCloud, apps and data can continue downloading in the background, which can allow you to start using the new phone sooner. With direct transfer, you generally need to wait until the migration is completed on both devices.
If your internet connection is reliable and your iCloud backup is current, iCloud can be convenient. If you want a more direct device-to-device move and have both phones available, Quick Start can be a strong choice.
Apple also supports wired data migration between compatible iPhones. For example, Apple documents USB-C cable transfers between supported recent iPhone models, while other combinations require different cable or adapter arrangements.
How to Transfer Your Number With iCloud
It is important to understand that iCloud primarily handles your personal data and device backup. Your carrier number still depends on cellular activation and the SIM or eSIM process.
When setting up a new iPhone, you can use an iCloud backup to restore supported content from your old device. Apple explains that you can do this even when the previous device is not nearby, provided that you have an appropriate iCloud backup.
If you still have the old iPhone, Apple provides a setup path where you can use the old device to initiate the process and then choose to download your data from iCloud. If you no longer have the old iPhone, you can follow the new-device setup process, connect to Wi-Fi, choose Restore from iCloud Backup, sign in to your Apple Account, and select the appropriate backup.
Your phone number, however, should still be checked separately. A successful backup restoration does not replace the carrier’s requirement to activate the mobile plan on the new device.
How to Transfer Number to New iPhone From a Windows PC
If you use a Windows computer, Apple supports transferring iPhone data using the Apple Devices app, and older setups may involve iTunes depending on your configuration.
Apple explains that backups created with Apple Devices, Finder, or iTunes can be used to restore personal data and purchased content to a new iPhone.
This can be useful when your old iPhone contains a large amount of information and you prefer a computer-based backup rather than relying completely on iCloud.
Keep in mind that a Windows backup does not itself move your phone number to the new iPhone. The cellular line must still be transferred through the physical SIM, eSIM, or carrier activation process.
After restoring your backup, open Settings on the new iPhone and verify that your cellular plan is active. Then test a call, text, and mobile data.
How to Transfer Number to New iPhone From a Mac
Mac users can use Finder to create and restore iPhone backups. The principle is similar to the Windows process: Finder can handle your device data, while the carrier handles your cellular service.
Apple notes that if a computer backup is not encrypted, Health and Activity data from the iPhone or Apple Watch may not transfer.
To avoid unnecessary problems, make a current backup of the old iPhone before beginning. Connect the new iPhone to the Mac when appropriate and follow the Finder restoration process.
Again, check the cellular plan independently. A successful Finder restoration is not proof that your phone number is active.
Why Your Number May Not Transfer Automatically
There are several reasons why your number may not move automatically. The most common is carrier compatibility. eSIM transfer options are not identical across every mobile provider, and some carriers require additional activation steps.
Another issue can be an unsupported iPhone model or region. Physical SIM and eSIM capabilities vary, and certain functionality depends on the market where the device is intended to operate.
An internet connection can also matter during setup. Keep the new iPhone connected to Wi-Fi when appropriate and make sure both devices have enough battery.
Sometimes the transfer appears to work but the carrier has not finished activating the service. In that case, you may see a message asking you to finish setting up the carrier’s cellular plan. Apple recommends following the displayed carrier instructions or contacting the provider when necessary.
What to Do If eSIM Transfer Gets Stuck
If your eSIM transfer stops, do not immediately erase the old iPhone.
First, check whether the new iPhone is connected to Wi-Fi and whether Bluetooth is enabled on the old device. Make sure the old iPhone is unlocked and that both devices meet the software requirements listed by Apple for the transfer method you are using.
Restarting both devices can resolve temporary setup issues. Apple also recommends restarting devices when the Quick Start setup prompt disappears unexpectedly.
After restarting, open the Cellular settings on the new iPhone and look for the option to add or set up an eSIM. You may be able to restart the transfer process from there. Apple documents an option to transfer a cellular plan from another iPhone after setup in supported configurations.
If the carrier requires additional verification, the iPhone may redirect you to the carrier’s website or instruct you to use another activation method.
What to Do If Your New iPhone Shows No Service
Seeing No Service, Searching, or an unexpected cellular state after moving to a new iPhone can be frustrating, but it does not automatically mean your number is lost.
Start by checking Settings and opening the Cellular section. Confirm that the expected cellular plan appears and is enabled.
Restart the iPhone and give the network a little time to reconnect. Confirm that Airplane Mode is turned off and that the cellular line is active.
If you recently transferred an eSIM, check whether the activation process is fully complete. A carrier may require an extra step before service becomes active. Apple notes that some users may see a Finish Setting Up Your Carrier’s Cellular Plan message that directs them to additional carrier activation.
If nothing changes, contact your carrier. The provider can check the status of the line, verify whether the SIM or eSIM is active, and determine whether a new activation is necessary.
What Happens to Your Old SIM After the Transfer?
The answer depends on the type of transfer.
With eSIM transfer, Apple states that when the cellular plan activates on the new iPhone, the previous SIM is deactivated.
With a physical SIM, removing the SIM from the old phone and placing it into a compatible new phone effectively moves the cellular service to the new device.
This is another reason not to erase or dispose of your old iPhone immediately. Keep it available until you have confirmed that the new iPhone can make calls, receive texts, use mobile data, and access any carrier-dependent services you rely on.
Can You Transfer More Than One Number to a New iPhone?
Modern iPhone cellular features make it possible to use multiple lines under supported configurations. Apple explains that Dual SIM can be used for purposes such as separating business and personal lines or maintaining a local plan while traveling.
Apple’s current eSIM documentation also notes that with iOS 26, users can transfer more than one phone number to a new iPhone when supported by the relevant setup.
This is especially useful for people who manage two numbers on one device. However, support still depends on the iPhone model, carrier, and region. Some devices support combinations such as one physical SIM and one eSIM, while other models rely on multiple eSIMs.
What Happens to WhatsApp and Other Messaging Apps?
Transferring your phone number does not necessarily move every application account automatically.
Your apps may download or restore as part of the new iPhone setup, but some applications ask you to sign in again or verify your phone number.
Messaging platforms may use the phone number as part of their security or account verification system. For that reason, make sure your number is active on the new iPhone before changing settings inside third-party communication apps.
It is also smart to check important authentication services after the transfer. Banking applications, password managers, two-factor authentication tools, and business applications can sometimes require re-verification on a new device.
How to Check That Your Number Was Successfully Transferred
After the cellular setup finishes, do not assume everything is working based only on the appearance of the carrier name.
Start by checking the phone number in the Cellular settings. Then make an outgoing call to someone you trust. Ask them to call you back so you can confirm incoming calls work.
Send and receive a standard SMS message. Then turn off Wi-Fi temporarily and open a website or app that requires mobile data.
These simple tests can reveal activation issues before you disconnect from the old iPhone permanently.
You should also test any essential services that rely on text messages, such as account verification or security codes.
Common Mistakes People Make When Moving a Number
One common mistake is erasing the old iPhone too early. It is safer to keep the old phone intact until the new device has been fully tested.
Another mistake is confusing a data backup with a cellular transfer. A backup restores personal content, while your number depends on the cellular plan and SIM or eSIM activation.
People also sometimes remove a physical SIM without checking whether the new iPhone supports that type of SIM. Because SIM support differs by model and region, this should always be verified first.
Another mistake is ignoring carrier messages. If your new iPhone displays a carrier setup instruction, complete it rather than assuming it can be skipped.
Finally, do not rely entirely on a single transfer method. Having a current backup and keeping the old device available gives you a much safer path if something unexpected happens.
How Long Does It Take to Transfer a Number to a New iPhone?
The number activation itself can sometimes happen quickly, but the overall move to a new iPhone can take longer because transferring data is a separate task.
Quick Start transfer duration depends on factors including network conditions and how much information is being migrated. Apple recommends keeping both devices near each other and connected to power until the transfer finishes.
An eSIM transfer can also depend on carrier activation systems. Some carriers support a largely automatic transfer, while others require additional verification or an activation page.
Because of this, there is no single guaranteed transfer time for every user. The safest approach is to avoid starting the process immediately before an important call or when you urgently need the old phone.
Should You Erase Your Old iPhone After Transferring Your Number?
Do not erase the old iPhone immediately after the number transfer.
First confirm that your new iPhone has your correct cellular plan and number. Check calls, texts, and mobile data. Make sure your important photos, contacts, messages, applications, and other essential information are present.
Once you are satisfied that everything has transferred and you have another backup if necessary, you can prepare the old iPhone for its next owner.
This matters particularly when you are trading in or selling the old device. Erasing it before verifying the new phone could make troubleshooting much harder.
How to Keep Your Number Safe During the Move
The best protection is preparation. Make a current backup before beginning, keep the old iPhone charged, and do not delete information prematurely.
Write down any important details you may need for carrier verification, but avoid sharing account passwords or sensitive security information with anyone who does not need it.
When speaking with your carrier, use official support channels. Phone-number ownership and mobile-account activation can involve identity or account verification, so it is important to follow the provider’s legitimate procedures.
Your number is often connected to banking, messaging, social media, email recovery, and two-factor authentication. That makes a successful transfer more important than simply getting the phone to display a signal.
How to Transfer Number to New iPhone When the Old iPhone Is Lost
This situation is more complicated because nearby-device eSIM transfer generally depends on having access to the previous iPhone.
If you no longer have the old device, you may need to use another carrier-supported activation method. Apple explains that eSIM activation can also be provided through carrier activation or other methods depending on the provider.
Contact your carrier and explain that you have a new iPhone and need your existing number activated on it. The carrier may provide a replacement eSIM, QR code, app-based activation, or another method.
For your personal data, iCloud backup restoration may allow you to recover information even when the previous device is not nearby, provided that a suitable backup exists.
How to Transfer Number to New iPhone Without the Old Phone
You can still move your number when the old iPhone is unavailable, but the process usually shifts from nearby transfer to carrier-based activation.
Your carrier may be able to activate the existing cellular plan directly on the new iPhone. Depending on the provider, this could involve an eSIM installation, QR code, carrier app, account login, or direct support.
For your personal files, you can use an iCloud backup or a computer backup if one exists. Apple supports restoring from iCloud and from backups made with Finder, Apple Devices, or iTunes.
The key point is that your phone number is connected to your mobile plan, not simply to the backup file.
How to Transfer Number to New iPhone From an Android Phone
Moving a number from Android to iPhone is different from moving it between two iPhones.
Your mobile number normally remains associated with your carrier account, so you do not necessarily need to change the number merely because you changed operating systems. Instead, the task is to activate your existing mobile plan on the new iPhone.
If your carrier provides eSIM activation for the new iPhone, follow its instructions. If you have a physical SIM and the new iPhone supports it, the carrier may allow you to use that SIM directly.
The data migration process is separate. Contacts, photos, messages, applications, and other content may require different migration tools depending on the type of Android device and the information being transferred.
What If the New iPhone Has a Different Carrier?
A carrier change is a different situation from simply moving your number to another iPhone.
If you are staying with the same carrier, the transfer is usually focused on activating your existing plan on the new device.
If you are changing providers while keeping your number, the new carrier may need to complete a number-porting process. That process is controlled by the carriers and can involve account information or additional verification.
Do not cancel your old mobile service before confirming that the number has successfully moved when you are porting between carriers. Your old carrier and new carrier can provide instructions specific to your account.
How eSIM Makes New iPhone Setup Easier
eSIM eliminates the need to handle a tiny physical card, which can make switching devices more convenient when the carrier supports digital transfer.
Apple describes several eSIM activation methods, including carrier activation, eSIM Quick Transfer, and other provider-specific approaches.
For supported carriers, Quick Transfer can let you move the cellular plan from the old iPhone directly to the new device. When activation completes on the new iPhone, the previous SIM is deactivated.
The biggest benefit is convenience, but the experience still depends heavily on carrier support. That is why checking the provider’s current eSIM capabilities before starting is worthwhile.
How Wired Transfer Can Help With a New iPhone
Wireless Quick Start is not your only choice for moving data.
Apple supports direct wired transfers between compatible iPhones. For newer iPhone combinations, this may involve a USB-C cable. Older-to-newer combinations can require a USB-C to Lightning cable, while some older device combinations may require an adapter and specific cable arrangement.
A wired connection can be useful when you want a direct connection between devices or when a wireless migration is not behaving as expected.
However, the cable-based data migration should still be viewed separately from cellular activation. You may successfully transfer all your files while still needing to activate your mobile number.
Frequently Asked Questions About Transferring a Number to a New iPhone
Will I lose my phone number when I get a new iPhone?
No. Buying a new iPhone does not automatically mean you lose your existing phone number. In most cases, the number remains connected to your mobile account and can be activated on the new device through a physical SIM, eSIM, or carrier-supported transfer process.
Can I transfer my number without changing my mobile plan?
Usually, the goal of a device transfer is to move the existing cellular service to the new phone without changing the plan. The exact process depends on your carrier and whether the new iPhone supports the same SIM technology.
Does transferring an eSIM delete my number from the old iPhone?
The number itself is not normally erased from your carrier account simply because you moved it. Instead, the old device’s SIM or eSIM profile is deactivated when the plan is successfully activated on the new iPhone. Apple specifically describes this behavior for supported eSIM transfers.
Can I transfer my number after setting up my new iPhone?
Yes. On supported devices and carriers, Apple provides a way to add or transfer a cellular plan after setup through Settings > Cellular > Set Up Cellular or Add eSIM.
Do I need Wi-Fi to transfer my number?
Wi-Fi is strongly useful during iPhone setup and data migration. The exact requirements for cellular activation depend on the carrier and activation method. Keeping the new phone connected to a reliable Wi-Fi network can make the overall setup smoother.
Can I use Quick Start without moving my number?
Yes. Quick Start can be used to transfer data and settings even though cellular activation is a separate part of setup. You should still check your mobile plan independently after the transfer.
What happens to my contacts when I move my number?
Your number and your contacts are separate. Contacts can be stored in iCloud, on the device, or through other account services. Your phone number is provided by your carrier. Moving the number does not by itself guarantee that every contact will be present unless your contacts have been transferred or synchronized.
What should I do if my SIM does not fit?
Do not cut or force the card into another tray. Check your new iPhone’s SIM requirements and contact your carrier for a compatible SIM or eSIM option.
Can I have two phone numbers on one iPhone?
Supported iPhone models can use Dual SIM configurations. Apple documents combinations involving physical SIM and eSIM on supported devices, as well as multiple eSIM configurations on certain models.
Should I transfer the number before the data?
There is no universal rule requiring one specific order, but doing the setup carefully and verifying the cellular plan before disposing of or erasing the old phone is the safer approach.
Final Checklist Before You Erase Your Old iPhone
Before permanently wiping your old iPhone, take a final moment to test the new device.
Confirm that your correct number appears under cellular settings. Make an outgoing call. Receive an incoming call. Send an SMS and receive a response. Turn off Wi-Fi and test mobile data. Check important authentication services. Open your most important applications and confirm you can sign in.
Then check your photos, contacts, messages, notes, documents, and other personal information. If you use an Apple Watch or other connected accessories, confirm that they are working correctly as well.
Only after everything looks normal should you erase the old iPhone.
Final Thoughts on How to Transfer Number to New iPhone
Learning how to transfer number to new iPhone becomes much easier once you separate cellular activation from data migration. Your phone number is connected to your carrier’s mobile service, while your personal content can be moved through Quick Start, iCloud, Finder, Apple Devices, iTunes, or a wired connection.
For many iPhone-to-iPhone upgrades, eSIM Quick Transfer is one of the easiest options when supported by the carrier. Apple currently provides nearby-device eSIM transfer instructions that allow a compatible cellular plan to move from an old iPhone to a new one, with the previous SIM being deactivated when the new plan activates.
If you use a physical SIM, moving the card can be straightforward when both iPhones support compatible SIM hardware. If the new device uses eSIM instead, your carrier may provide another activation method. Apple also provides carrier information to help users identify which providers support eSIM and which activation systems are available in different countries and regions.
The most important rule is simple: do not erase your old iPhone until you have confirmed that the new phone has your correct number, working calls, SMS, mobile data, and the information you need. A little preparation can prevent a stressful situation later.
Upgrading your iPhone should be a smooth transition, not a battle with settings and activation screens. By understanding your SIM type, checking carrier compatibility, creating a backup, keeping both devices nearby when required, and carefully testing your new phone, you can move your number with confidence and get back to using your iPhone without unnecessary interruptions.
If this guide helped you successfully move your phone number, take a moment to share it with someone who is preparing to upgrade their iPhone. Keeping this guide saved can also make your next device upgrade much easier, especially when switching between physical SIM and eSIM.
