

My pantry used to be a black hole. I would buy a second jar of cumin because I could not see the first one, find three half-open boxes of the same crackers, and discover expired cans in the back like little archaeological artifacts. The pantry was not actually that small — it was just organized […]
My pantry used to be a black hole. I would buy a second jar of cumin because I could not see the first one, find three half-open boxes of the same crackers, and discover expired cans in the back like little archaeological artifacts. The pantry was not actually that small — it was just organized so badly that half of it was unusable.
Learning how to organize a small pantry for maximum space changed all of that. It was not about buying a hundred matching containers (though a few help). It was about treating every inch like it had a job. Here is the exact 12-step system I used, and the mistakes I made so you do not have to.
Table of Contents
Why Small Pantries Feel Smaller Than They Are
A small pantry does not feel small because of square footage. It feels small because of three thieves: dead space above short items, invisible back rows on deep shelves, and duplicate purchases from not knowing what you own.
When I measured mine, I found that nearly a third of each shelf’s height was empty air above cans and boxes, the back six inches of every deep shelf were a graveyard, and I owned four — four — bottles of soy sauce. Fix those three problems and a small pantry suddenly doubles in usable capacity.
Step 1: Empty the Whole Thing
Yes, all of it. Every can, box, and bag out onto the counter and table. This is the step everyone wants to skip, and it is the step that matters most. You cannot organize what you cannot see, and you will never throw away the expired 2021 baking powder while it is still hiding behind the flour.
Emptying the pantry took me about twenty minutes. It also gave me the shock I needed: two trash bags of expired food, a donation box of things we would never eat, and a counter full of stuff I genuinely used.
Step 2: Clean Before You Rebuild
With the shelves bare, wipe everything down — shelves, walls, corners. Check for sticky rings, crumbs, and any sign of pantry moths (tiny webbing in corners is the tell). I found a spilled bag of sugar had glued itself to one shelf, which explained a lot about the ant situation the previous summer.
A clean slate also lets you see the actual space you are working with, including any odd corners or wasted inches you can plan around.
Step 3: Measure Everything
Grab a tape measure and write down three numbers for each shelf: width, depth, and the clear height between shelves. This takes five minutes and saves you from the classic blunder — buying beautiful containers that are half an inch too tall.
My shelves were 12 inches deep and only 10 inches of clear height on two of them. Knowing that meant I bought short, wide bins instead of tall canisters that would never have fit. Measure first, shop second. Always.
Step 4: Sort Into Keep, Toss, and Donate
Go through everything you pulled out:
- Toss: anything expired, stale, or open so long it is questionable. Be ruthless — that half bag of specialty flour from two years ago is not “still fine.”
- Donate: unopened, in-date items your household will not eat. Food banks want these.
- Keep: what you actually cook with.
I tossed about 30 percent of my pantry’s contents. It hurt for about a minute, and then the remaining food fit beautifully. A small pantry has no room for “maybe someday” items.
Step 5: Decant the Bulky Stuff
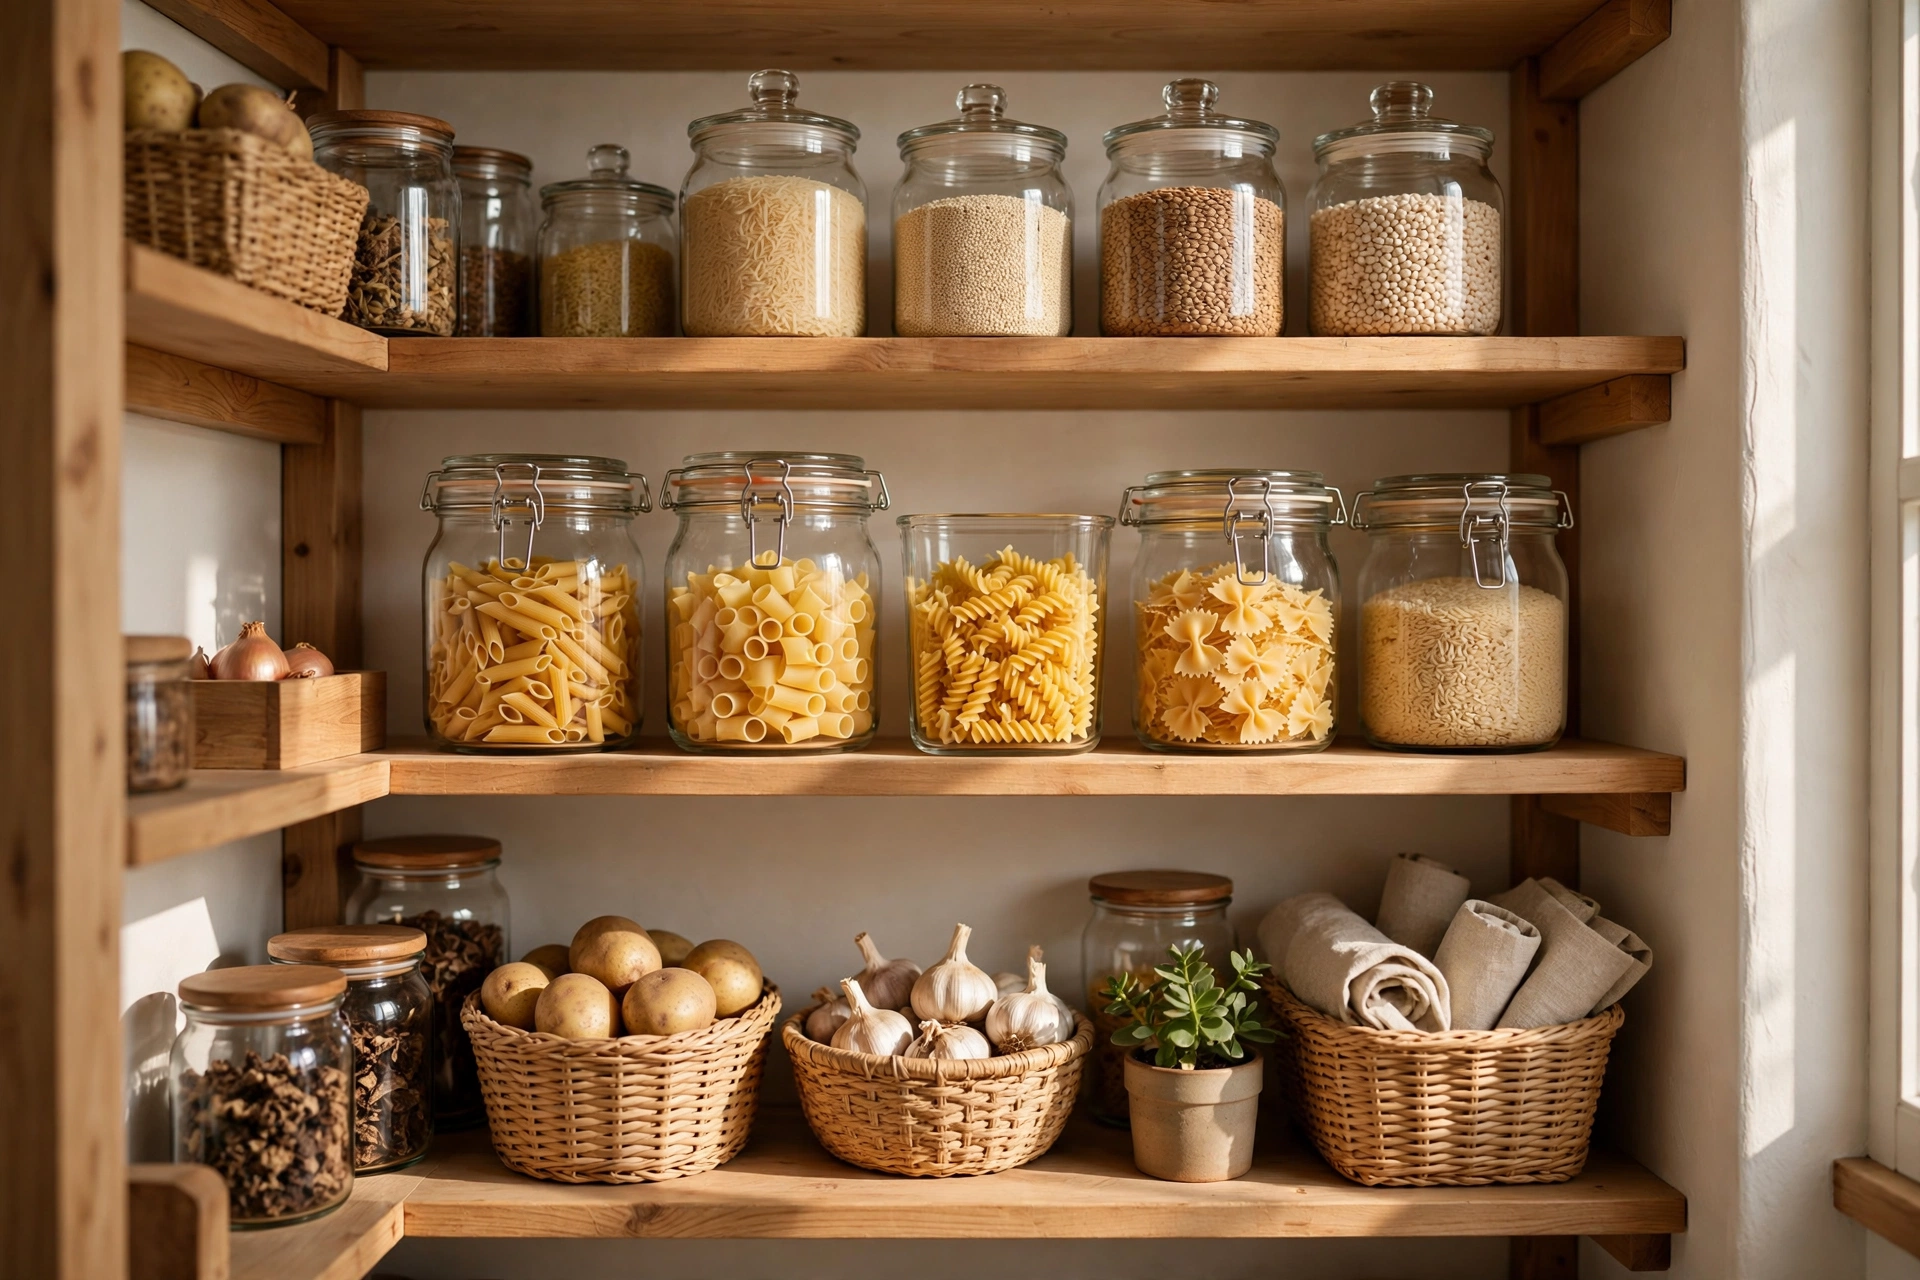
This is where the real space magic happens. Cereal boxes are mostly air. Bags of rice and pasta flop over and waste space. Transferring dry goods into clear, uniform containers:
- Lets you see exactly how much you have (no more duplicate soy sauce)
- Stacks neatly instead of leaning and toppling
- Keeps food fresher and pest-proof
I decanted flour, sugar, rice, pasta, oats, and cereal. The space savings were immediate — those six categories went from sprawling across a full shelf to fitting in one neat row of containers. For fresh produce that lives near the pantry, my method for how to keep bananas from ripening too fast keeps the fruit bowl from becoming its own black hole.
Step 6: Create Zones by How You Actually Cook
Professional organizers swear by zones, and they are right. Group items by function, not by some abstract category system:
- Breakfast zone: cereal, oats, coffee, tea
- Baking zone: flour, sugar, baking powder, chocolate chips
- Snack zone: at kid height if you have kids
- Dinner zone: pasta, rice, canned tomatoes, oils
- Backstock zone: duplicates and bulk buys, up high or down low
Zones mean everything has a home, which means putting groceries away takes seconds and finding ingredients takes even less. It also means anyone in the house can find things and — crucially — put them back.
Step 7: Go Vertical — It Is Free Real Estate
The empty air above your cans is the biggest wasted resource in a small pantry. Fix it with:
- Shelf risers: little stepped platforms that turn one shelf into two or three tiers. My canned goods went from a single hidden row to three visible tiers.
- Stackable containers: uniform square containers stack; round random ones do not.
- Under-shelf baskets: wire baskets that hook onto the shelf above create a whole new layer for packets and wraps.
I added two shelf risers and one under-shelf basket for under twenty dollars total, and gained what felt like an entire extra shelf of storage.
Step 8: Claim the Pantry Door
The back of the pantry door is pure bonus storage. An over-the-door rack or a few mounted spice racks can hold:
- Spices and small jars
- Packets, wraps, and foil
- Vitamins or tea bags
- Small bottles of oils and vinegars
In my kitchen this one move freed up nearly half a shelf. If your pantry does not have a door, the same trick works on the inside of a nearby cabinet door.
Step 9: Tame Deep Shelves With Pull-Out Bins
Deep shelves are where food goes to be forgotten. The fix is simple: put things in bins you can pull forward. A clear bin full of condiments slides out, you grab what you need, and you slide it back — nothing hides in the back row anymore.
I use one wide bin for oils and vinegars, one for condiments, and one for baking odds and ends. A lazy Susan works the same magic for corners and round awkward spots — one spin and the thing you want is in front of you.
Step 10: Label Everything
Labels are what keep an organized pantry organized. When every bin and container says what it holds, two things happen: you find things instantly, and — more importantly — everyone in the house puts things back in the right place.
You do not need a fancy label maker. Masking tape and a marker work fine. I used chalkboard labels because they look nice and I can rewrite them, but honestly the tape-and-marker era of my pantry worked just as well.
Step 11: Put Everyday Items at Eye Level
Map your shelves to your body: daily-use items at eye level and easy reach, weekly items one shelf up or down, backstock and rarely-used appliances up high or down low. Heavy things (big bags of rice, bulk cans) go low where they cannot fall on anyone.
This sounds obvious, but before my overhaul, the daily coffee lived on the top shelf and the once-a-year fondue pot sat at eye level. Organizing by frequency of use is a small change with an outsized daily payoff.
Step 12: The 5-Minute Weekly Reset
An organized pantry decays without maintenance — groceries come in, things get shoved, order erodes. My defense is a five-minute weekly scan, usually while putting groceries away:
- Toss anything that expired or went stale
- Pull older items forward (first in, first out)
- Refill the decanted containers from backstock
- Put strays back in their zones
Five minutes a week beats a three-hour overhaul every six months. This is the step that makes the other eleven stick.
Mistakes I Made (So You Can Skip Them)
- Buying containers before measuring. I now own a set of beautiful canisters that do not fit under my shelves. Measure first.
- Decanting everything. Spices I use twice a year do not need decanting. Decant the high-turnover staples; leave the rest.
- One giant “snacks” bin. It became a snack avalanche. Smaller bins by type (bars, chips, kids’ snacks) work far better.
- Ignoring the door. I left the best free storage in the kitchen unused for a year. Do not be me.
What My Pantry Looks Like Now
Everything visible, everything reachable, everything labeled. Grocery shopping takes less time because I can see what I need. Food waste dropped because nothing expires in hiding anymore. And the whole project cost less than a nice dinner out — a few bins, two risers, a door rack, and labels.
The real lesson of learning how to organize a small pantry for maximum space is that small was never the problem. Invisible, unreachable, and duplicated was the problem. Fix those, and even a closet-sized pantry can hold a well-stocked kitchen.
How do I start organizing a very small pantry?
Empty it completely first — that is always step one when learning how to organize a small pantry for maximum space. Then toss expired items, measure your shelves, and sort what is left into zones by how you cook. Start with just clear bins and shelf risers; you can add more specialized organizers later once you see how the space actually gets used.
What containers are best for a small pantry?
Clear, square or rectangular, stackable containers with airtight lids. Square shapes waste less space than round ones, clear walls let you see contents at a glance, and stackability unlocks vertical space. Measure your shelf height before buying — this is the mistake almost everyone makes once.
How do I organize deep pantry shelves?
Use pull-out bins or baskets so nothing gets lost in the back row — you slide the whole bin forward instead of digging. Lazy Susans work well for corners and condiments. Keep backstock (not daily items) in the deepest spots, and always rotate older items to the front.
How can I maximize vertical space in my pantry?
Add shelf risers to create tiers for cans and jars, use stackable uniform containers, hang under-shelf baskets for packets, and mount racks on the pantry door for spices and small bottles. Most pantries waste a third of each shelf’s height as empty air above short items.
How often should I reorganize my pantry?
You should not need a full reorganization more than once or twice a year if you maintain it. Do a five-minute weekly reset while putting groceries away: toss expired items, rotate older stock forward, refill decanted containers, and return strays to their zones. For more small-space ideas, the roundup of small pantry organization ideas at KitchenFreak is a good visual companion to this system.
Should I decant everything in my pantry?
No — decant the bulky, high-turnover dry goods (flour, sugar, rice, pasta, oats, cereal, snacks) where uniform containers save real space and keep food fresh. Leave rarely-used items and things already in good packaging alone. Decanting everything is expensive and unnecessary.