

The first time I held my keycaps up to the light and really looked at them, I was horrified. My WASD keys had developed this shiny, greasy film that no amount of wiping would touch, and the spacebar looked like it had been polished by a thousand thumbs — because it had. I’d spent good […]
The first time I held my keycaps up to the light and really looked at them, I was horrified. My WASD keys had developed this shiny, greasy film that no amount of wiping would touch, and the spacebar looked like it had been polished by a thousand thumbs — because it had.
I’d spent good money on a mechanical keyboard, and within a year it looked tired. A quick Google search taught me that learning how to clean mechanical keyboard keycaps properly isn’t just about looks — it’s about hygiene, feel, and making an expensive board last. If you’re searching for how to clean mechanical keyboard keycaps without fading the legends, this guide covers every step.
Table of Contents
Why Keycaps Get Gross in the First Place
It helps to know what you’re actually fighting, because not all keycap grime is the same. The main offender is sebum — the natural oil your skin produces. Every keystroke presses a thin layer of it onto the plastic. Dust settles into that oil film, crumbs work their way under key edges, and over time the combination bakes into a sticky yellowish layer that wiping can’t remove. If you eat at your desk (no judgment — I absolutely do), multiply all of this by three.
There’s also a phenomenon called “shine” that deserves its own mention. When plastic keycaps get a lot of use, the textured surface physically smooths out and reflects light differently, giving keys that greasy look even when they’re technically clean. This happens fastest with ABS plastic, which is what most stock keycaps are made of. Real shine is wear, not dirt — you can’t clean it away. But before you mourn a “worn out” set, clean it properly first. In my experience, about half of what looks like shine is actually just stubborn grime.
What You’ll Need Before You Start
Gather everything first, because once the keycaps are soaking you don’t want to be hunting for a towel. Here’s my kit: a wire keycap puller (the two-pronged kind, not the cheap plastic ring ones), a large bowl, denture cleaning tablets, warm water (not hot — hot water can warp some keycap plastics), a soft brush, two microfiber cloths, a dry towel, and your phone camera to photograph the layout before you pull a single keycap.
The denture tablet trick sounds like internet folklore but genuinely works — the consensus across keyboard communities and publications like Dot Esports’ keyboard cleaning guide lands on the same soak-and-rinse approach, which is reassuring.
How to Clean Mechanical Keyboard Keycaps: The Deep-Clean Method, Step by Step
Step 1: Photograph Your Layout
Take a clear, straight-down photo of your keyboard with all keys visible. If you have a non-standard layout or custom keycaps, photograph those separately too. Reassembly without a reference photo is a puzzle you don’t need.
Step 2: Unplug the Keyboard
Disconnect your keyboard from the computer before anything else. If it’s wireless, power it off and remove the batteries if possible. Water and electronics are a bad combination.
Step 3: Pull the Keycaps
Slide the wire puller over a keycap, hooking the wires under opposite corners, and pull straight up with steady, even pressure. Don’t yank sideways — that can stress the switch stem. Work row by row. For large keys (spacebar, enter, shift, backspace), pull gently from both ends since they sit on stabilizers. I keep stabilizer keys in a separate small bowl.
Step 4: Prepare the Soak
Fill the bowl with warm water — comfortably warm, not steaming. Drop in two to three denture tablets and let them fizz and dissolve completely before adding the keycaps. Then d This soak is the heart of how to clean mechanical keyboard keycaps safely — the tablets dissolve grime so you don’t have to scrub.ump in all your keycaps and give the bowl a gentle swirl so every cap is submerged.
Step 5: Let Them Soak
Leave the keycaps soaking for five to six hours — overnight is ideal. The denture tablet solution quietly dissolves the oil film and loosens everything caked into the plastic’s texture. Stir gently a few times during the soak to expose fresh surfaces.
Step 6: Rinse Thoroughly
Drain the soak water through a colander or sieve (don’t lose a keycap down the drain) and rinse every cap under clean, cool running water until there’s zero residue. Run your fingers over a few caps; they should feel squeaky-clean, not slippery.
Step 7: Clean the Board While You Wait
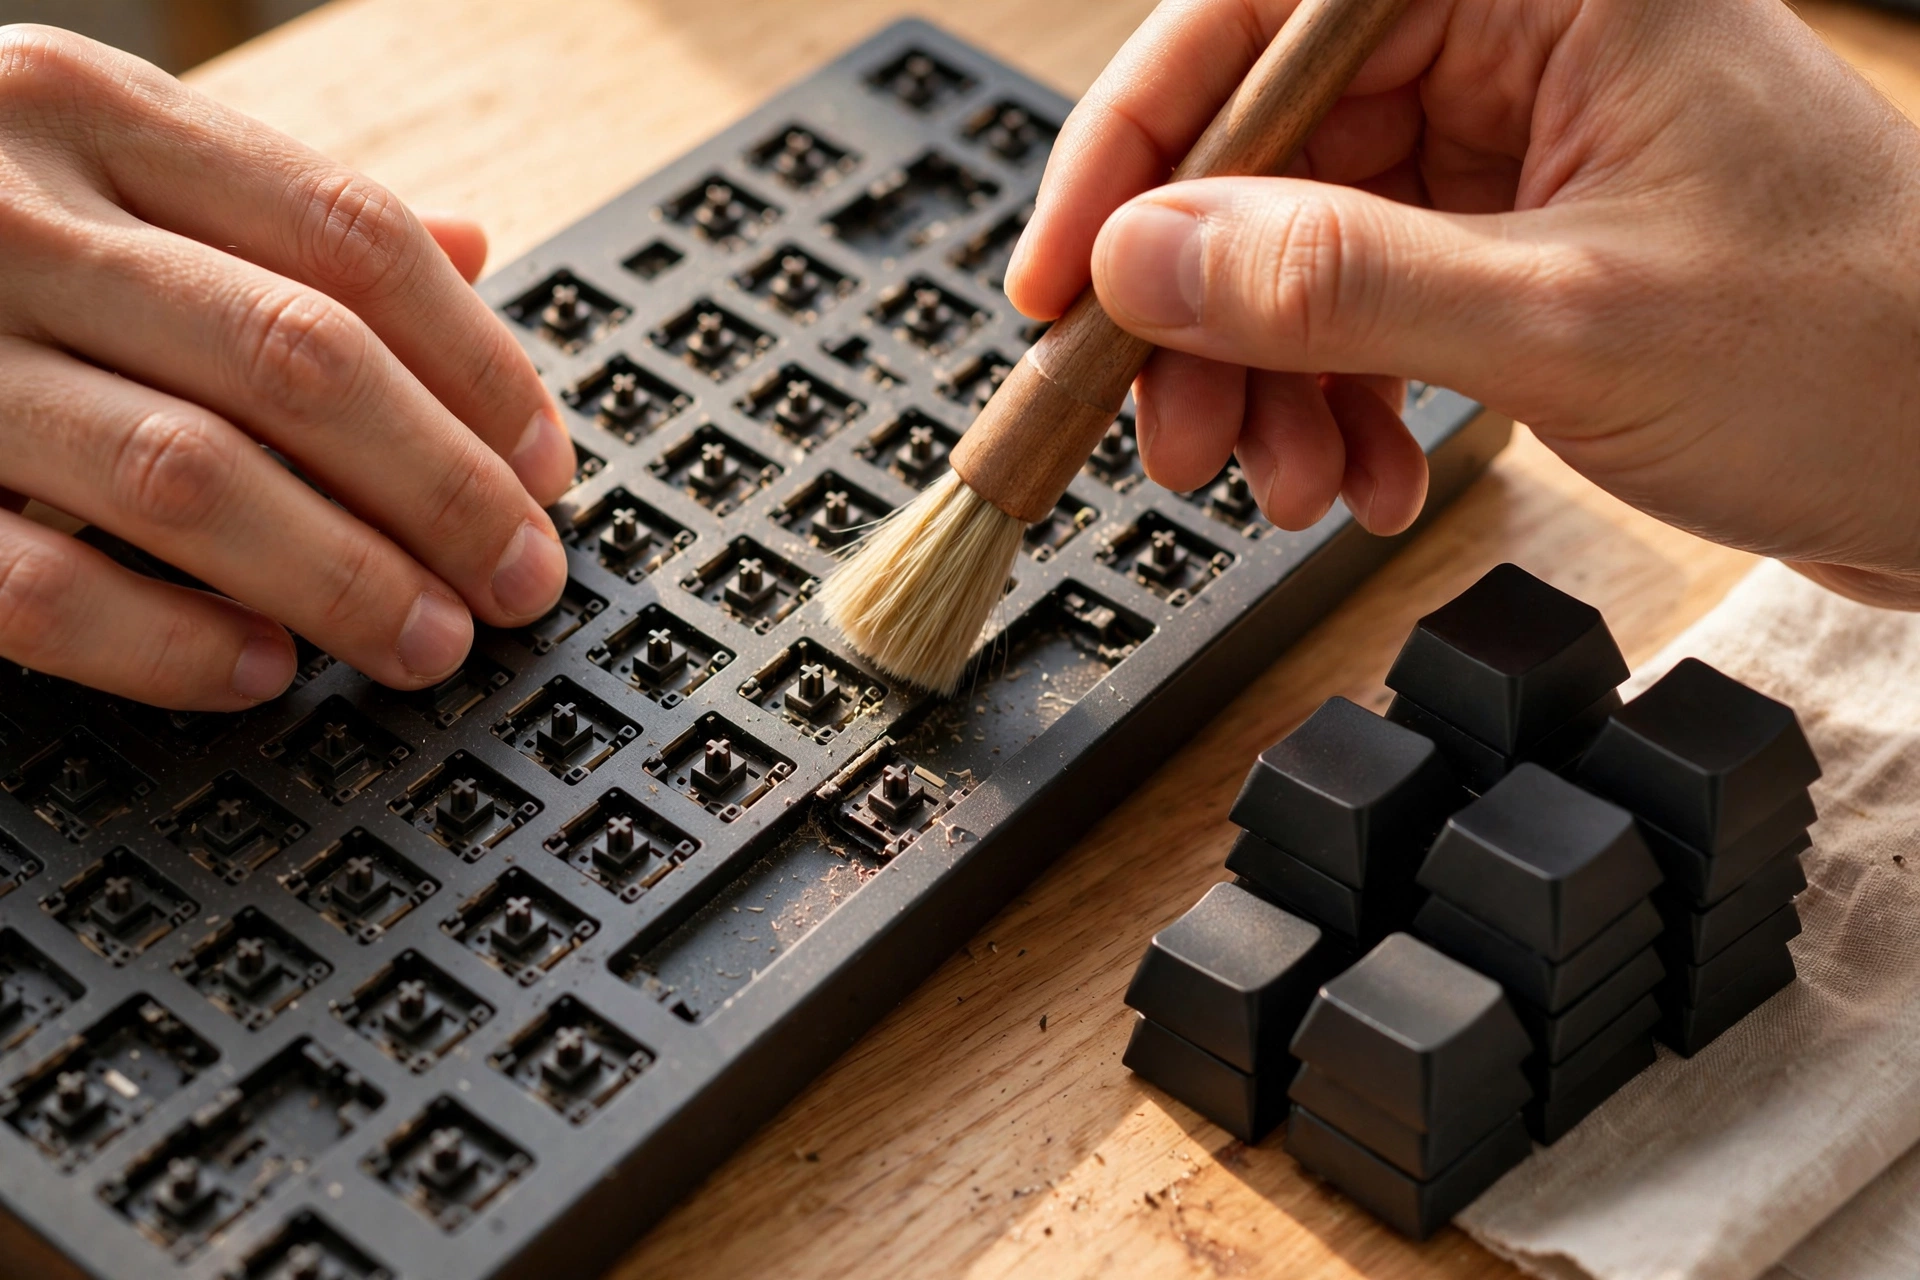
With the keycaps off, your keyboard’s plate is exposed — and it’s probably carrying months of dust and crumbs. Turn the board upside down over a trash can and give it a few firm shakes. Use the soft brush to sweep dust off the plate and out from around the switch housings with light strokes. Finish with a slightly damp microfiber cloth across the plate and case, followed immediately by a dry cloth.
This is also the perfect moment for general maintenance: while everything is apart, I like to do a quick software-side cleanup too, since a sluggish machine makes even a pristine keyboard feel bad — my guide on how to speed up a slow Windows 11 laptop pairs well with a hardware refresh day like this.
Step 8: Dry Everything Completely
Lay the rinsed keycaps out on a dry towel, stem-side up, in a well-ventilated spot. Do not use a hairdryer — heat can warp keycaps. Do not put them back on the board “mostly dry.” Let them air-dry for at least eight hours; overnight is ideal.
Step 9: Reassemble and Test
Once everything is bone dry, press each keycap back onto its switch stem, pushing straight down until it seats with a soft click, using your reference photo. For stabilizer keys, align the inserts before pressing down. Plug the board in and run through every key to confirm they all register.
What NOT to Do: Mistakes I Made So You Don’t Have To
Don’t use boiling or very hot water — it can warp thinner ABS caps. Don’t put keycaps in the dishwasher — the heat, harsh detergent, and rattling fade legends and warp plastic. Don’t use bleach, acetone, or harsh solvents — they discolor plastic and dissolve printed legends. Don’t soak or Knowing what to avoid is half of learning how to clean mechanical keyboard keycaps properly.scrub with isopropyl alcohol on printed keycaps — it can fade pad-printed legends. And don’t scrub with anything abrasive like steel wool or scouring pads — they leave micro-scratches that attract dirt faster.
How Often Should You Clean Your Keycaps?
For a daily-driver keyboard: a quick maintenance wipe weekly and a full deep clean every three to six months. If you eat at your desk, lean toward three. The honest test: look at Sticking to a schedule is the easiest part of how to clean mechanical keyboard keycaps — the soak does most of the work.your spacebar in raking light. If it glistens compared to a rarely-used key like Scroll Lock, it’s time.
Quick Maintenance Between Deep Cleans
Shake the board upside down weekly to drop out crumbs. Wipe keycap tops with a slightly damp microfiber cloth every week or two. Use a soft brush or compressed air to clear du Think of this as the maintenance mode for how to clean mechanical keyboard keycaps — small efforts that delay the next full soak.st from between keys monthly. And wash your hands before long typing sessions — it genuinely halves grime buildup.
PBT vs ABS: Does Keycap Material Change the Method?
The method is the same, but the stakes differ. PBT plastic is denser, more textured, and far more resistant to shine and chemical damage. ABS is smoother, develops shine faster, and is more vulnerable to heat and solvents. With ABS caps, be extra careful about water temperature and skip alcohol entirely. Not sure what you have? The sound test is a decent proxy: PBT produces a deeper, duller “thock” while ABS is higher-pitched and clackier.
Frequently Asked Questions
Can I clean my keycaps without removing them?
For light maintenance, yes — a damp microfiber cloth works on the tops. But you cannot deep-clean keycaps properly without removing them. The grime that matters most lives on the sides and undersides of the caps and on the plate beneath, where no cloth can reach.
Will denture tablets fade the legends on my keycaps?
In my experience across multiple sets, no — provided the legends are dye-sublimated or double-shot. If you have cheap pad-printed caps and you’re nervous, test one rarely-used key in the soak first and check it after an hour.
How long do keycaps take to dry?
Plan on eight hours minimum, overnight to be safe. The stem recesses trap water surprisingly well. Putting caps back on while damp is the most common mistake people make after doing everything else right.
Is it safe to use dish soap instead of denture tablets?
Yes — a few drops of mild dish soap in warm water works as a substitute. Denture tablets are my preference because they dissolve grime more aggressively without scrubbing, but soap is fine. Rinse extra thoroughly.
My keycaps are still shiny after cleaning. Did I do something wrong?
No — that’s wear, not dirt. ABS keycaps develop a polished shine from friction, and no cleaning removes it. Clean shiny caps still look and feel dramatically better than dirty shiny caps.
Final Thoughts
Learning how to clean mechanical keyboard keycaps properly took me from a board I was slightly embarrassed about to one that looks and feels new — and the whole process costs less than a fancy coffee. The denture tablet soak does 90 percent of the work while you do something else. Set a reminder for six months out, do the weekly shake-and-wipe in between, and your keyboard will thank you with every keystroke.



One thought on “How to Clean Mechanical Keyboard Keycaps: My 9-Step Method for a Fresh, Shine-Free Board”